Arrow starter with a compatible chassis
Start from an owned arrow module, use Archer Crew when it fits your plan, and reserve compatible slots for the later turret-and-arrow core.

Separate the choices you can make now from the modules you hope to acquire later.
Reviewed:
A loadout is the set of choices you make before the run. A build includes the modules, upgrades and artifacts you actually assemble afterward. Confusing the two is why a promising guide can fail before the first boss: the finished setup may depend on items your account has not bought.
Start by deciding what the next run is for. A new-stage clear, a Silver objective and an Overtime attempt do not necessarily need the same starting choices.

Check the vehicle before the weapon list. A Side Ballista or Side Barracks plan requires a Side slot. Spiderburg has two Top slots and no Side slots, so it cannot reproduce those combinations unchanged.
A second Top slot is useful only when you own a second compatible option. If the loadout warns that another Top module is needed, solve that purchase requirement instead of repeating the vehicle-unlock challenge.
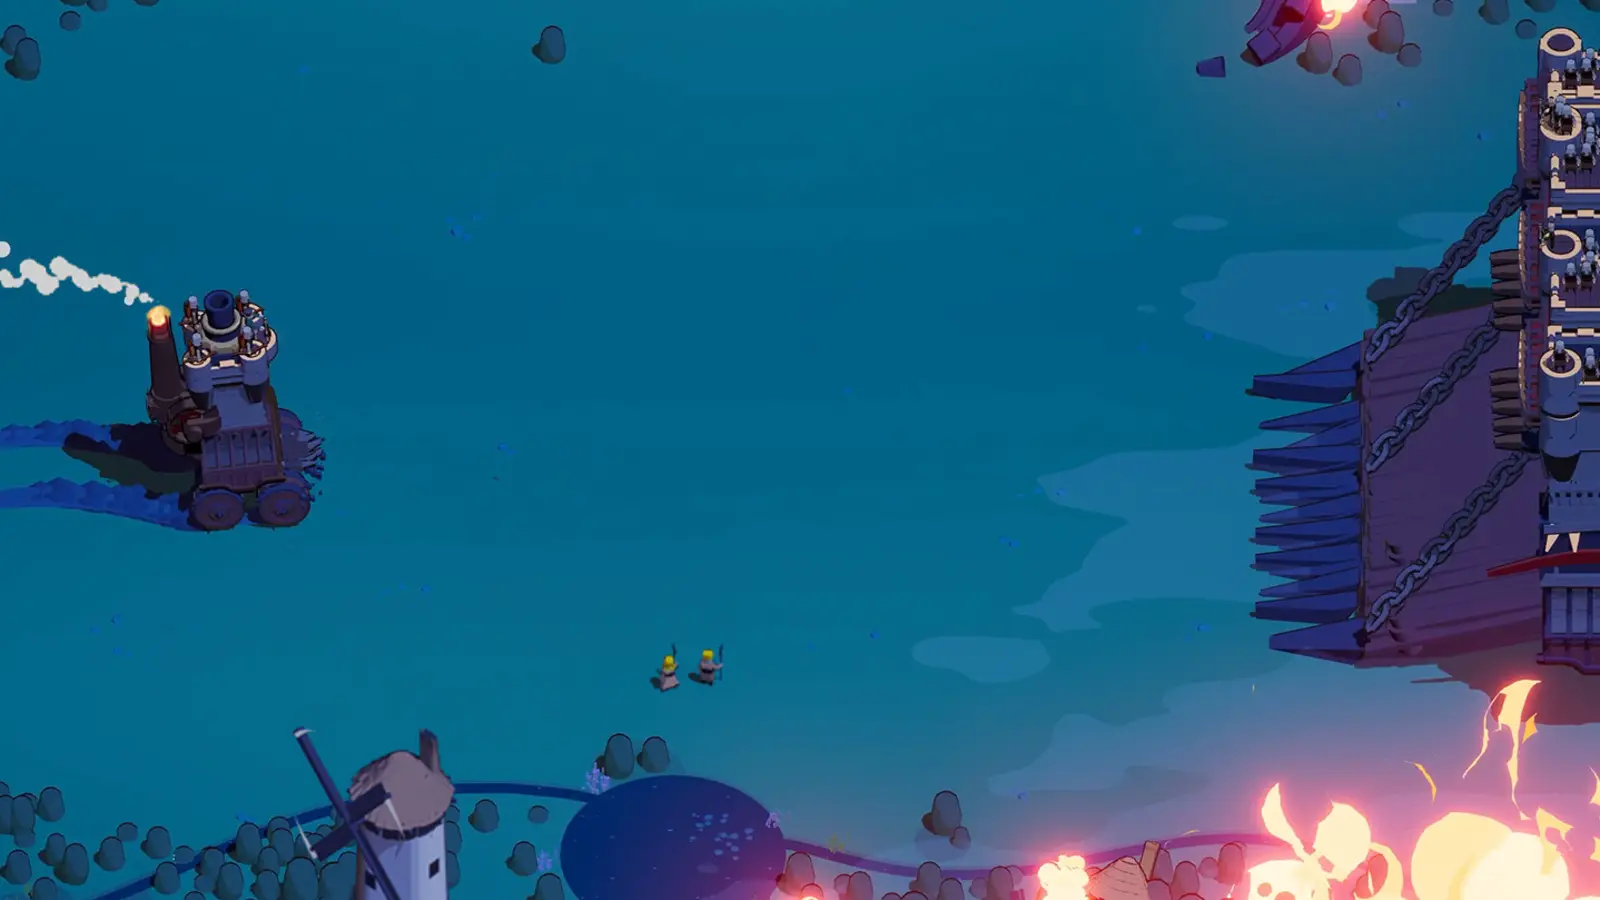
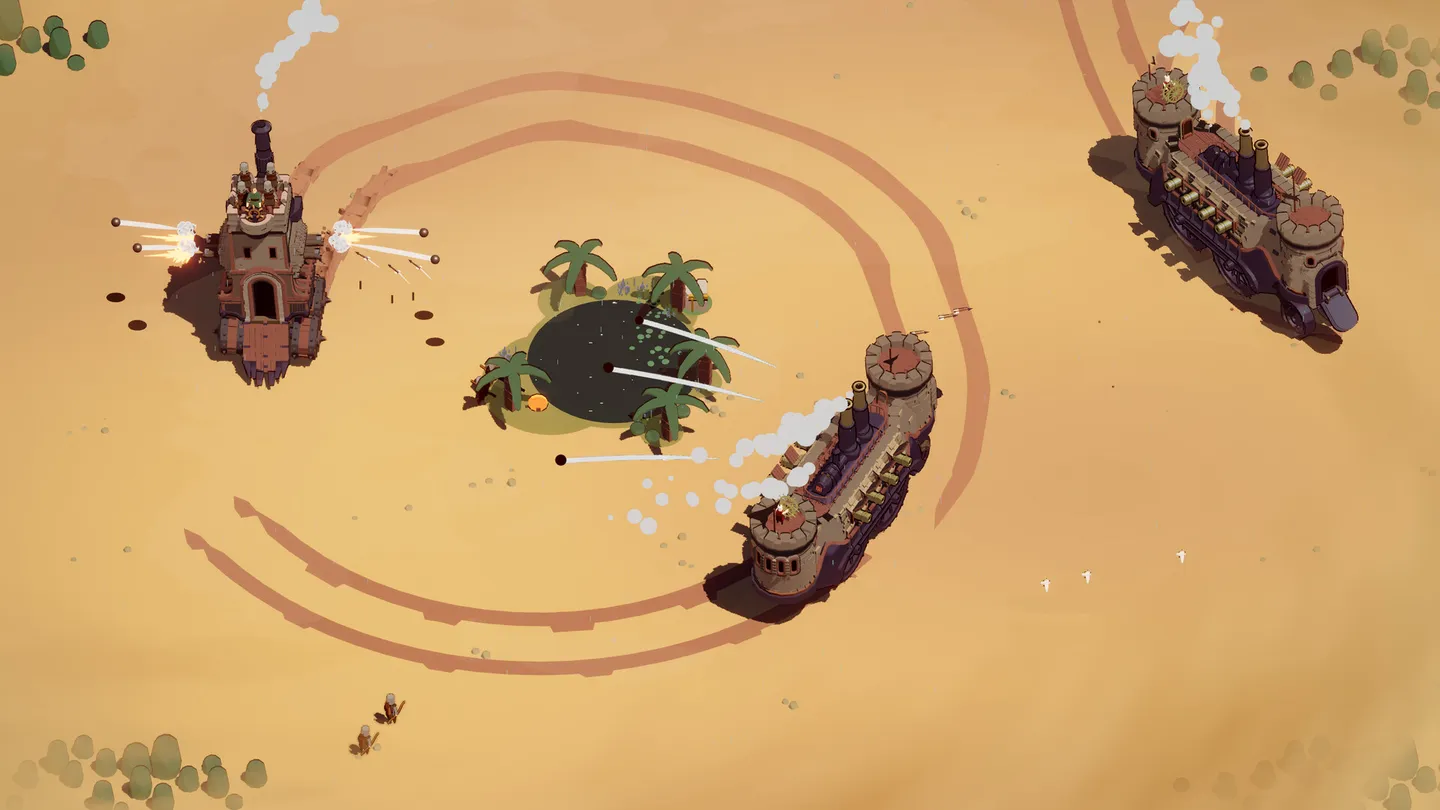
The different castle configurations shown above are a reminder that module placement changes with the vehicle. They are not interchangeable cosmetic skins.
| Intended run | Starting direction | Reason to reconsider |
|---|---|---|
| Arrow pressure | Archer Crew with an arrow module | You do not own the other arrow options needed for the chassis |
| Summoned-unit pressure | A barracks start; Merchant was used in the recorded Empress run | You need health recovery more than extra economy |
| Cannon burst | A cannon module and compatible damage support | You are missing shots because the firing angle is unfamiliar |
Crew choice is not a universal ranking. In the Empress example, Merchant supported gold income, while the player considered Carpenters for recovery. That is a trade-off between growth and sustain, not proof that healing is mandatory.
For a named specialist route, compare the Tankbert long-run loadout, the Lightning Mage control build, and the Ram Duelist melee setup. Each separates starting equipment from later additions and explains the trade-off that can make the same recommendation unsuitable for another run.
Choose a captain whose trade-off you can manage. A specialist can strengthen the intended attack while making movement, cooldowns or incoming damage harder to handle. Buying the captain first does not solve a missing module.
The starting captain comparison separates the options supported by the available gameplay. For a first attempt at a new weapon family, a familiar captain makes it easier to judge the weapon itself.
An artifact should help something you expect to do immediately. A bonus tied to arrow kills is a poor opening investment if your current equipment does not make those kills. A bonus to an ability you rarely activate has a similar problem.
Do not assume a named artifact in someone else's final build must be your starting choice. If it is locked or unaffordable, keep the useful part of the loadout and choose a support effect you can use.
Write down the essential module and the replaceable slot. If the essential module is not your starting choice, accept that it may not appear when you want it. A fallback lets you take a useful upgrade without pretending the intended build has already arrived.
Keep at least one path to survival when cooldowns are unavailable: movement, automatic coverage or a recovery option. Then follow the best build comparison for the in-run decisions.
If your setup cannot be equipped at all, the next task is not a better combat rotation. Check the padlock condition, purchase state and slot type using the module unlock priorities.
Filter by the module already owned, not an unpurchased endgame ingredient.
Results: 3 of 3
Start from an owned arrow module, use Archer Crew when it fits your plan, and reserve compatible slots for the later turret-and-arrow core.
Choose a usable barracks first. Pair Empress with actual unit-producing modules, then decide whether the crew should support economy or recovery.
Use a chassis with a Side slot and start with an owned cannon. Treat Front Cannon as a later option until its challenge and purchase are both complete.
Open a loadout to check prerequisites, opening support and a fallback before starting.
Start from an owned arrow module, use Archer Crew when it fits your plan, and reserve compatible slots for the later turret-and-arrow core.
Use this starting direction when the account already has enough arrow options to make the intended vehicle useful. It is particularly suitable for learning a new stage without also learning a highly specialized captain. The first objective is a functioning opening, not a perfect final screenshot. A familiar arrow attack gives you something reliable while you locate resources and choose the next module.
Do not choose Spiderburg just because it is newly available if the planned loadout includes Side Ballista. Its missing Side slot is a structural restriction, not a bad roll. If you want the two-Top vehicle, build a compatible arrow plan around what those slots can equip. Likewise, a turret start is less useful if you have no intention of staying near the fighting area you create.
Choose the chassis first, then inspect the starting-module options it can support. In the demonstrated arrow run, Turret Layer was selected with Archer Tower and Side Ballista intended for later development; Norbert was the captain. Those later modules are a goal, not a statement that the entire final loadout is active at the start. Your starting choice must be able to collect resources and handle early pressure on its own. Crew and artifact choices should support that immediate job.
| Priority | Equipment | Instruction |
|---|---|---|
| Opening compatibility | An owned arrow-relevant effect | Read the trigger as well as the benefit. An effect that requires arrow kills needs your opening equipment to produce those kills. Do not choose it merely because the eventual plan contains arrows. |
| Account budget | Existing usable alternatives | If the exact starting artifact is locked, keep the useful chassis and module combination. Spend Silver on a missing functional component before chasing an optional detail from someone else's completed run. |
During the first stretch, pay attention to whether the starter is doing its promised job. With a turret opener, place useful fire near the enemies you are fighting rather than leaving it behind while you chase every distant reward. With a castle-mounted arrow opener, keep collecting and steering while it attacks. The first new-module choice should strengthen the plan or fix a missing function; it should not be taken solely because it looks impressive.
A starting artifact or crew choice cannot guarantee the later upgrade pool. You may never receive one intended module, so an opening that only works after the final piece arrives is fragile. Do not confuse a choice being unlocked with it being purchased. If the setup screen rejects an option, check ownership and slot compatibility before concluding that the guide requires another boss clear.
Check the failing condition before buying another item or repeating a challenge.
| Build | Protect first | Missing piece | Practical adjustment |
|---|---|---|---|
| Arrow starter with a compatible chassisPartially verified | An owned starting arrow module. | Check the Side slot before planning Side Ballista. | Use a compatible arrow core, not an impossible copy of another chassis. |
| Barracks starter for an Empress planPartially verified | A functioning barracks opener. | Empress is optional until owned; the module plan and captain purchase are separate. | Choose support for the castle's actual survival problem instead of copying Merchant automatically. |
| Side Cannons starter before a full cannon buildPartially verified | A usable Side slot and starting cannon. | A completed Front Cannon challenge still leaves its purchase to check. | Keep playing the owned cannon while working toward the missing currency. |
Use these distinctions before spending another reroll or changing the entire setup.