
Wanderburg Top Mortar Cannon Damage: Scaling and Active Attack Guide
- Reviewed
- Scope
- Dated evidence; no installed-build testing
Top Mortar is a player-equipped Top module that fires cannonballs from above. It has an Auto Attack and a separate active barrage, so its damage does not scale from one universal stat. Read each upgrade literally: Top-module bonuses can affect it, cannonball or projectile bonuses can affect the attacks they name, and Auto Attack or active-ability bonuses apply only to that part of the module unless the card explicitly says otherwise.
For practical damage, improve three things in order: make the barrage land, reduce periods when the mortar cannot answer a threat, and then add damage or projectiles. A larger theoretical hit does nothing when enemies leave the impact area. This page concerns your equipped Top Mortar, not hostile Mortar Towers or their biome objective.
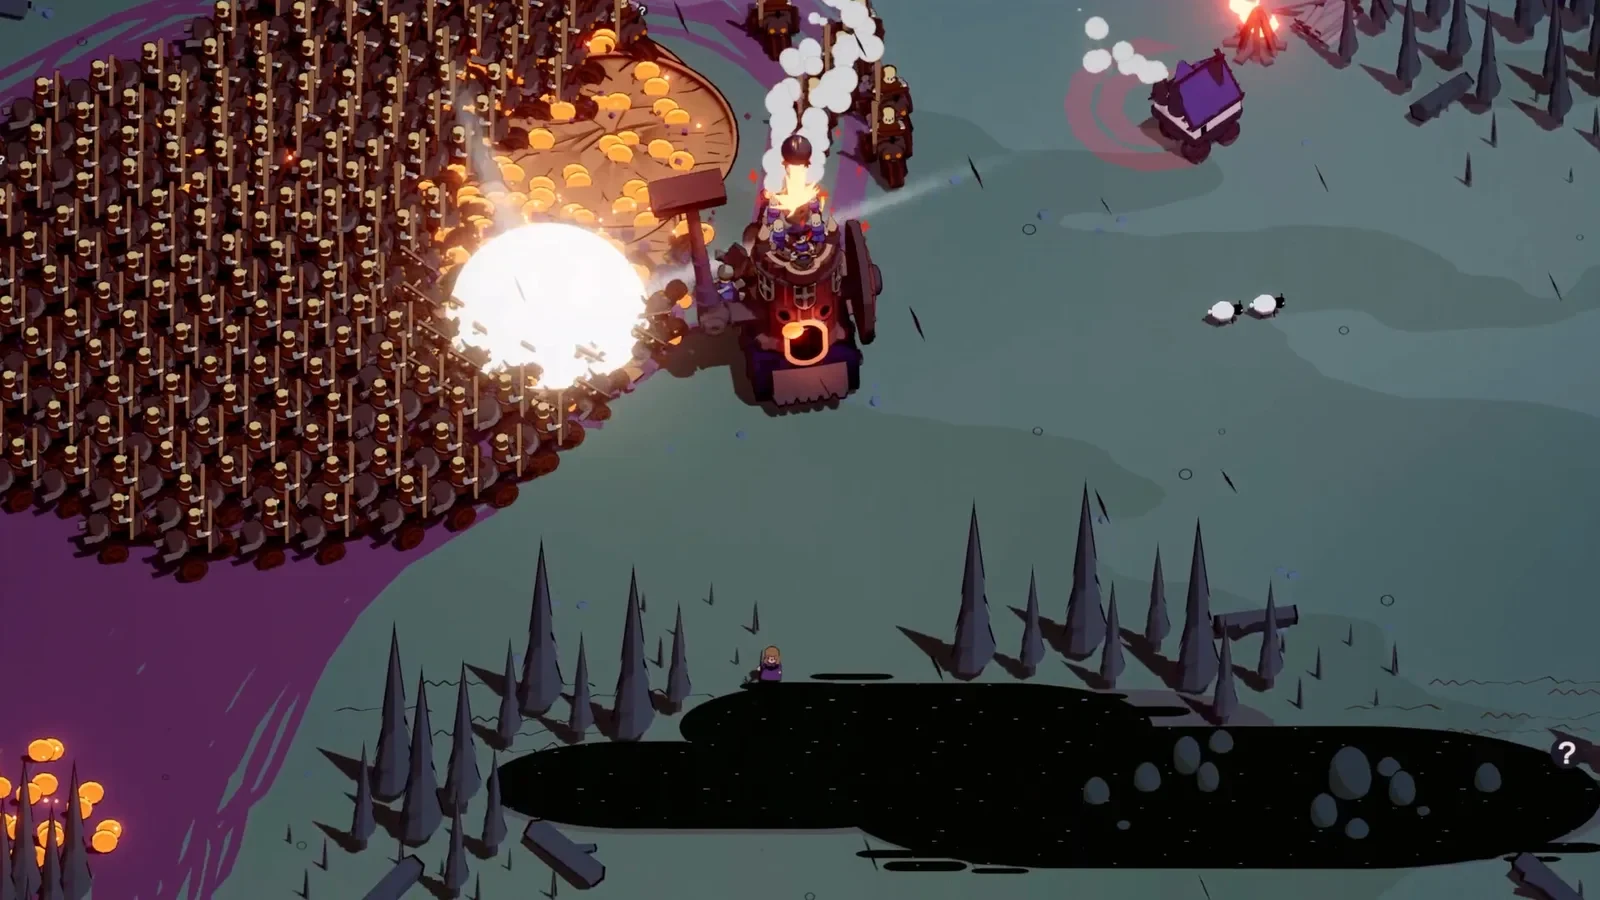
A roof-mounted weapon on a player castle. This frame identifies the mount; it does not measure damage.
How Top Mortar Damage Is Classified
Top Mortar belongs to several overlapping categories. The important distinction is that these categories describe different parts of the same module rather than interchangeable names.
| Classification | What it means for an upgrade decision |
|---|---|
| Top module | A bonus explicitly covering Top modules can apply to Top Mortar. A Side-module bonus does not transfer merely because both weapons use cannonballs. |
| Cannonball weapon | Cannonball damage and cannonball effects are relevant when the card wording includes the projectile fired by Top Mortar. |
| Auto Attack | Top Mortar attacks automatically between manual activations. Auto Attack upgrades improve this channel, not automatically the active barrage. |
| Active ability | The manually triggered barrage has its own damage, projectile, charge, and cooldown choices. An ability-only card should not be treated as an Auto Attack upgrade. |
| Projectile attack | Projectile damage, count, and effect-size choices can change the barrage in different ways. Read which attack the card names before selecting it. |
This classification explains why two upgrades with similar language can produce different results. A Top-module cooldown bonus can help every compatible Top module on the vehicle, while a Side-module cooldown bonus is irrelevant to Top Mortar. A cannonball modifier may support more than one equipped cannon weapon, but an Auto Attack card still affects only the automatic attack described on that card.
Do not assume that a crew, artifact, or general Cannon choice applies just because its theme looks compatible. Confirm the target text on the current card. Player footage shows Top Mortar used alongside Canoneer Crew and cannonball bonuses, but the visible wording remains the reliable boundary for deciding whether a particular roll affects the mortar.
How to Land the Active Barrage
The active attack is best used against enemies already occupying a shared area or against a valuable target whose movement is predictable. Mortar shots travel through an arc and arrive after activation, so current position is less important than where the target will be when the projectiles land.
- Choose the impact area before activating. Look for a group, a large target, or an enemy committed to a route. Scattered enemies moving in different directions waste the mortar's area coverage.
- Account for movement during the delay. Lead a moving target instead of centering the barrage on its old position. If it is already leaving the area, preserve the activation for a better approach.
- Use constrained movement. A slowed enemy or a target occupied by another source of pressure is easier to hit. This is why slowing mines can support Top Mortar without directly increasing its displayed damage.
- Activate and keep driving. The mortar can attack an area while the castle leaves a dangerous firing line. Do not remain inside incoming fire merely to watch the barrage resolve.
- Observe the actual impact. Separate missed projectiles from weak projectiles. If most shots land but the target survives, damage may be the issue. If most shots land on empty ground, more damage will not repair the activation.
- Prepare for the next threat. After firing, use the Auto Attack or another equipped module while charges or cooldown recover. Top Mortar should cover an area, not leave the whole vehicle without a second response.
Against ordinary groups, wider coverage or more projectiles can create more useful hits. Against one durable target, concentrated damage may be better if the offered upgrade actually focuses the barrage. Early Access player footage showed a Top Mortar branch offering a single large final projectile as an alternative to a ring of mines. Treat choices like these as run-specific branches: inspect the offered text instead of assuming either option will always appear.
Choose Upgrades by the Problem They Solve
Top Mortar damage can fail through accuracy, availability, or insufficient impact. Diagnose which failure is happening before spending the next level.
| Upgrade lever | What it changes | Choose it when |
|---|---|---|
| Projectile or cannonball damage | Raises the damage of covered hits | Shots are landing on important targets but leave too much health. |
| Additional active projectiles | Adds more opportunities to hit within a barrage | The impact area contains several targets or the current barrage lacks coverage. |
| Additional charges | Stores another activation when supported by the offered card | Useful targets appear more often than a single activation can cover. |
| Active cooldown | Returns the ability sooner | The barrage succeeds, but the next dangerous group arrives before it is ready again. |
| Auto Attack damage or speed | Improves pressure between activations | Cooldown gaps are the main weakness and the automatic shots are connecting reliably. |
| Top-module bonus | Improves the named property for compatible Top modules | Its wording covers Top Mortar and preferably benefits another equipped Top module as well. |
| Effect size | Expands the covered effect when specified | Enemies frequently sit near the edge of an otherwise well-placed barrage. |
| Slow or control support | Makes future impacts easier to predict | Mobile targets repeatedly leave the landing area before the shots arrive. |
More projectiles and more damage are not the same form of scaling. Projectile count can improve coverage and may produce more total hits, but only if those projectiles connect. Damage scaling strengthens successful hits without making a missed barrage useful. Cooldown and charges increase how often the active attack can contribute; they do not necessarily raise the damage of one projectile.
The same distinction applies to Auto Attack investment. Recorded Early Access runs repeatedly selected separate Top Mortar Auto Attack and ability upgrades. That is evidence that the two channels must be evaluated separately. If the automatic shots are already cleaning up small targets, an active upgrade may better serve bosses or dense groups. If the active barrage clears its area but leaves a long quiet interval, Auto Attack or cooldown can provide more consistent pressure.
Use a Simple Damage Decision Routine
When the next Top Mortar choice appears, use this sequence instead of selecting the highest rarity automatically.
- Read the target line. Confirm whether the card names Top modules, cannonballs, projectiles, Auto Attacks, or active abilities.
- Identify the weak channel. Decide whether the current problem occurs during the active barrage or between activations.
- Check hit quality. If the barrage misses, improve timing, control, or coverage before stacking raw damage.
- Check availability. If another dangerous group arrives during recovery, favor a supported cooldown or charge improvement.
- Check finished damage. If well-placed hits still fail to remove the intended target, take applicable projectile or cannonball damage.
- Reassess after the upgrade. Watch the next comparable activation. Do not keep funding the same stat after it has stopped solving the current failure.
This routine also prevents category mistakes. A strong Side Cannon upgrade may be useful for the vehicle but does not prove that Top Mortar improved. Likewise, a general Top-module bonus may help the mortar even when the card never uses the word “mortar.” The operative rule is the mechanical target written on the card.
Common Reasons the Damage Feels Weak
The barrage lands behind moving enemies. Activate farther along their route, wait for a committed approach, or combine the shot with a supported slowing effect. This is an aiming problem rather than a damage-stat problem.
One activation clears a group, but the next group arrives during recovery. Add cooldown or charges when offered, and keep another attack channel productive between barrages. Repeated availability can be more valuable than excess damage on enemies already dying.
Auto Attack upgrades do not make the active barrage impressive. The two channels have separate upgrade language. Select an ability, projectile, cannonball, or applicable Top-module bonus if the active attack is the part that needs help.
A modifier improves another cannon but not Top Mortar. Slot-specific wording matters. Side-module effects remain tied to Side modules, while Top Mortar occupies a Top slot.
Extra projectiles still miss. Projectile count cannot compensate for a badly selected impact area. Use dense groups, predictable movement, or control before treating quantity as damage.
The castle takes heavy damage while aiming. Top Mortar does not require the vehicle to hold a broadside. Trigger the attack and reposition; abandoning a dangerous location is better than trading health to preserve a view of the impact.
Current Version Context
Wanderburg is in Early Access, so older demonstrations can show different mortar output. Official hotfix 0.9.6 notes state that the update reduced Top Mortar's active projectile count. A later versioned guide was checked through hotfix 0.9.8, while the captured Steam store page displayed hotfix 0.9.14 as the latest regular update. Older demo barrages therefore should not be used as a current projectile-count benchmark.
Separate that official change history from player observations. Early Access community posts and recorded runs show players choosing additional active projectiles, cooldown, Auto Attack damage, cannonball damage, a large final strike, and a ring-of-mines branch. Those observations demonstrate the kinds of scaling decisions that appeared in those runs; they do not establish fixed current values, guaranteed choices, or a universal best branch.
For the next run, first verify the Top Mortar card text, then use one activation on a predictable group. If it misses, change timing or control. If it lands but lacks impact, add applicable damage or projectiles. If it succeeds but returns too slowly, add cooldown or charges. That sequence improves the part of Top Mortar that is actually limiting its damage instead of investing in a label that may belong to a different slot or attack channel.