
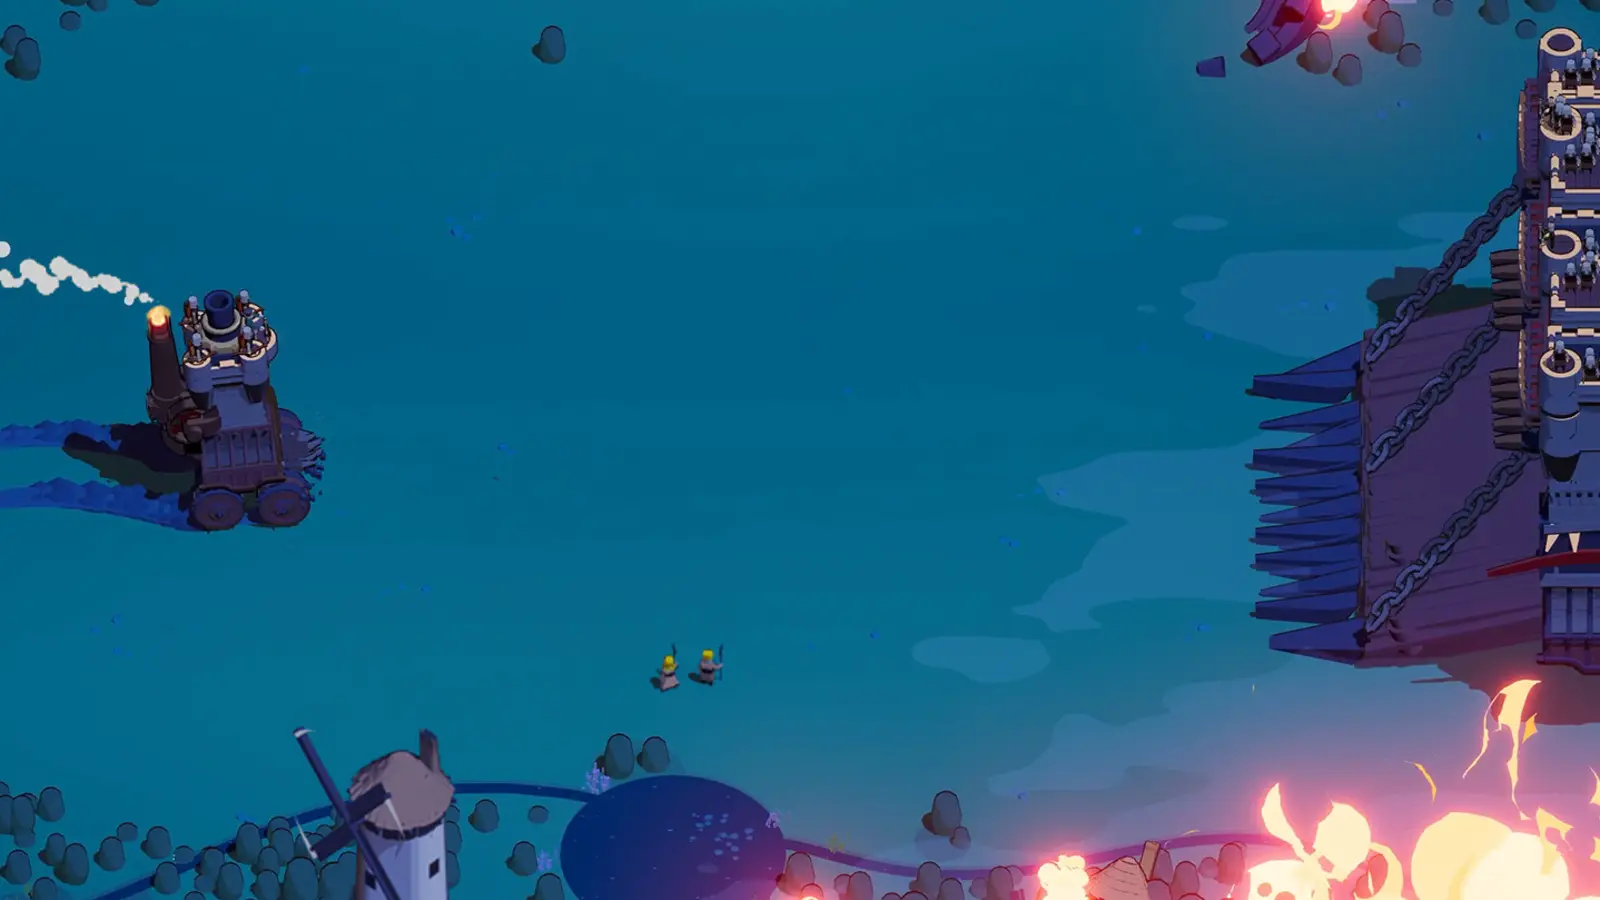
Equip both Top slots on an available Spiderburg
- Reviewed
- Scope
- Equipment setup; initial unlock condition unverified
If Spiderburg is available but the game will not let you start with it, check your owned Top modules first. The recorded loadout warning requires another Top purchase because this vehicle has two Top slots. It has no Side slots, so buying another Side weapon will not resolve that warning.
The complete initial Spiderburg unlock condition is not established by the available footage. A Golden Dunes clear precedes its appearance in one recorded progression, but the objective itself is not fully read. This guide therefore separates that unresolved gate from the verified equipment issue, then explains how to prepare a useful first Spiderburg run.
Identify whether the obstacle is progression or equipment
Open the Spiderburg entry and look at what is actually preventing selection. A locked progression condition asks you to complete a task. A message about buying another Top module asks you to expand the compatible equipment you own. A selection screen that stops responding is a technical problem.
These symptoms should not be combined into a vague “Spiderburg does not work” diagnosis. Each has a different next action, and completing more bosses will not necessarily solve the latter two. Record the wording of the message before spending Silver or beginning another long run.
| What you see | What it means for the next step |
|---|---|
| A locked vehicle with a stated objective | Follow that current objective and inspect its progress. |
| The vehicle is available, but another Top module is required | Check owned Top options and purchase a compatible second one. |
| A Side-based build cannot be copied | Rebuild the plan around the vehicle's available positions. |
| The loadout screen freezes | Check the installed version and reproduce the technical symptom. |
| The run starts but movement feels unfamiliar | Test the chassis's handling separately from its equipment. |
Once you know which case applies, follow only the relevant branch. This avoids spending the next attempt on a progression condition that has already been completed.
Read the initial gate from the current objective
In the archived progression, Spiderburg appears after the player finishes a Golden Dunes boss sequence and returns to the overworld. That chronology supports where it occurred in that account's playthrough. It does not establish every prerequisite or the exact condition shown to a new account.
Other progress messages appear in the broader recording, including boss totals and distance traveled. They must not be converted into Spiderburg requirements simply because the same end screen mentions them. A simultaneous achievement is not evidence of a causal unlock condition.
Select the vehicle or its associated objective in your current game and read the full wording. Note the named area, difficulty, and whether the task refers to a single run or broader progress. Plan around those details, then inspect the entry again after the attempt.
If the condition remains unclear, keep the exact text or screenshot for comparison. There is no supported reason here to prescribe an extra biome, a fixed travel distance, or a universal Silver price for the initial unlock. The rest of this guide becomes directly applicable when the vehicle is available and the equipment screen identifies what is missing.
Own two Top modules before trying to start
The recorded warning states that Spiderburg has two Top module slots and that the account needs to buy one more module to play with it. The practical response is to count compatible owned Top options, not merely the number of modules visible anywhere in the collection.
A module can be visible but still locked behind a condition or waiting for a Silver purchase. Check its state. Finishing the challenge that makes it purchasable does not necessarily mean it is owned. This is the same distinction that affects other early equipment unlocks.
Read the slot designation before spending. A captain, a crew choice, or a Side module is not a substitute for a missing Top purchase. Likewise, a weapon sharing the same damage family does not automatically occupy the same position.
After buying a suitable option, return to the Spiderburg loadout and check whether the warning has cleared. If it has, inspect the actual selection before entering the run. If it has not, verify that the purchase was completed and that the item belongs to the required position. Do not immediately assume the boss requirement needs to be repeated.
Choose a second Top module with a purpose
The missing purchase is more useful when it contributes to a setup you want to play. Start by identifying the Top option you already understand, then compare eligible alternatives by their practical role: focused damage, automatic coverage, or a different kind of active attack.
A second component that shares useful bonuses with the first can make later artifact decisions more efficient. The recorded Spiderburg arrow run illustrates a setup where related attacks work together. That is a reason to consider a coherent plan, not proof that every account must buy the same named pair.
Also consider how the abilities behave while you move. If the first module is strongest during a deliberate attack pass, an automatic attack that remains useful during retreat may cover its downtime. Two attacks that demand the same difficult approach can leave the loadout with a persistent weakness despite attractive damage.
Compare the purchase cost with your remaining Silver and any prerequisite still unfinished. If the affordable option is something you genuinely want to test, it can be a sensible starting point. If it would be unused after clearing the warning, earning the difference for a more suitable option may be worthwhile. The first module buying guide provides a broader spending order.
Replace Side-slot functions instead of copying names
Spiderburg's lack of Side slots changes more than the equipment list. A previous build may rely on Side Cannons for a broadside, a Side Ballista for another attack, or Side Barracks for unit pressure. Those exact components cannot simply be carried over into a chassis without the relevant position.
Identify what the old Side module did for the run. Did it supply the main boss burst, keep ordinary enemies away, or support the damage while you concentrated on steering? Then consider how the available Spiderburg equipment can perform that function.
This does not require forcing an exact replacement. The vehicle may support a different rhythm altogether. An arrow-oriented plan with two useful Top options can ask for different positioning from a cannon loadout built around side-facing attacks. Choose the new plan deliberately instead of judging it against an unavailable component.
Check your captain and artifacts after making the equipment change. A bonus that primarily supported the removed module may have less value now. The loadout compatibility guide helps evaluate the whole selection rather than treating the chassis as an isolated cosmetic swap.
Separate turning agility from forward speed
The recorded player repeatedly describes Spiderburg as nimble while also complaining about its speed. These observations are compatible. A vehicle can turn effectively and still fail to leave a projectile's path quickly enough.
Test those behaviors separately. In open space, try a short turn, a wider loop, and a straight escape. Notice which action causes difficulty. If a turn is clean but enemies catch you afterward, the problem is different from getting caught on another vehicle before the turn finishes.
Do not treat the recording's movement feel as a permanent current-version statistic. Hotfix 0.9.9 changed Spider driving behavior, including faster earlier or base levels and a reduction to its speed upgrades. That is a reason to evaluate the installed client rather than copy a numerical movement plan from older footage.
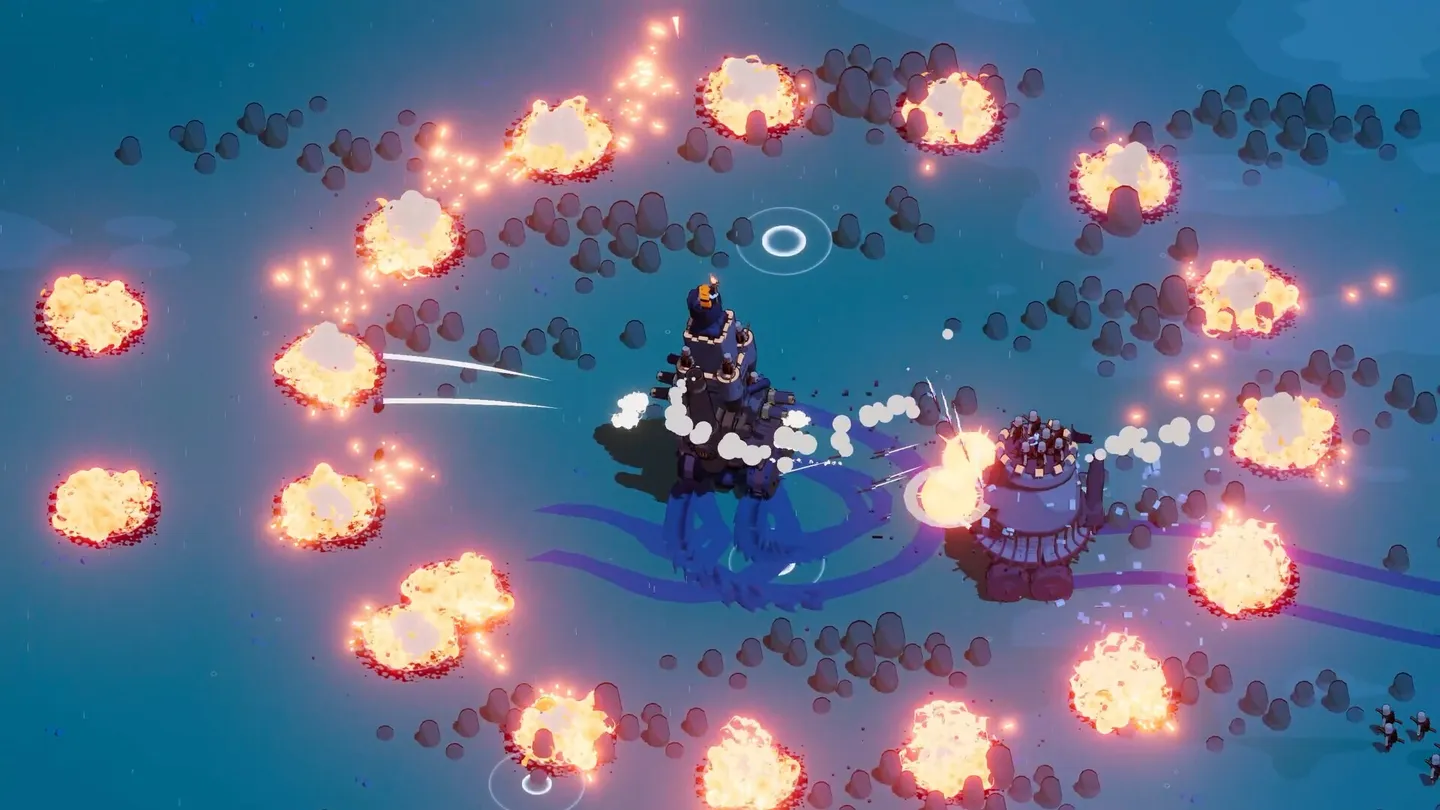
The image above is useful for recognizing the multi-legged chassis and its space in combat. It is not a scale diagram or proof of a specific collision advantage. Leave enough room to complete the route and judge the handling from actual movement with your selected equipment.
Use a familiar stage for the first run
The first Spiderburg attempt should answer whether you understand the vehicle and can use its attacks effectively. A familiar stage gives you a clearer comparison than immediately entering an area whose enemies and hazards are also new.
Keep the captain or main damage direction familiar where possible. Check the prompt for each active ability and observe which module responds. Switching the chassis can change your expectations about where attacks originate, even when the general damage plan resembles the previous build.
Begin with safe resources and manageable enemies. Watch whether the automatic attacks provide enough coverage while you steer. Activate the main ability from a clear angle, then observe the result before concluding that the vehicle has weak damage. An attack missing its target is a different problem from an attack that connects but lacks power.
After the first boss or vehicle growth, reassess the space you need. The castle's relationship with nearby traffic changes as it becomes larger. A route that felt comfortable in the opening may need a wider approach later. The beginner movement guide explains how to preserve an exit through those changes.
Build around the two useful Top attacks
In the observed arrow run, shared arrow bonuses and a Top-related cooldown choice contribute to the overall plan. The useful principle is that an effect supporting both main components can provide more practical value than one supporting an attack you barely use.
Read the exact category on every choice. A Top bonus applies by equipment position; an arrow bonus applies by damage or attack category as described by the game. The two are not interchangeable simply because an arrow component happens to occupy a Top position.
Choose upgrades based on the part of the attack you use. If automatic fire keeps enemies away while you drive, improving that behavior supports the whole run. If you consistently land the active volley on bosses, an active-focused improvement may be more valuable. Cooldown is useful when another activation would create a real opportunity, not just when a smaller number looks appealing.
The turrets and arrows guide develops the recorded ranged direction. It should be treated as a coordinated plan with alternatives, not a guarantee that a specific artifact or upgrade will appear. A functional fallback keeps the run useful when the preferred offer does not arrive.
Decide between Movement and Defense from the danger
Do not choose Movement only because the chassis is described as agile, and do not choose Defense only because you took damage once. Look at the pattern of the last fight.
Movement is worth considering when you can turn but cannot create distance, when a safe route closes before you reach it, or when repositioning repeatedly consumes too much time. The observed Spiderburg player often prioritizes movement for these reasons. That preference is evidence from one attempt, not a universal mandatory sequence.
Defense can help when the route is mostly sound but repeated hits leave too little health to finish. It does not solve a blocked escape, and a larger health pool can still disappear under sustained fire. Pair any defensive choice with a clear movement plan.
If you are unsure, make one change and compare the next section. A useful test might be taking Movement after the first boss while keeping the same damage direction. Changing every upgrade priority at once makes it harder to learn whether the chassis, equipment, or driving decision was the actual issue.
Respond to a loadout freeze as a separate problem
Hotfix 0.9.8 added safeguards for a Spider player vehicle loadout freeze. The developer's wording asked affected players to test the change; it is not proof that every possible selection problem on every PC has been eliminated.
Update before trying to reproduce the same frozen screen. Note whether the menu stops accepting all input, whether the application closes, or whether a visible requirement simply prevents starting. These are different technical and gameplay states.
For an actual freeze, record the selected vehicle, owned or selected modules, the last menu action, and the installed version. That information is more useful than repeatedly buying equipment in the hope that the interface will recover. A purchase should answer a stated equipment requirement, not serve as an unverified repair procedure.
Use the crash and freeze troubleshooting guide for a controlled sequence of checks. If the menus continue to work but a controller action does not behave as expected, the controller testing guide is the more direct path.
Decide whether Spiderburg suits the next goal
Spiderburg is useful when the available Top choices support the run you want to play and you are comfortable with its movement. Its unusual slots are a specialization, so it need not replace every previous vehicle or suit every owned build.
If the strongest setup on your account depends on a Side module, keep that setup available while learning the spider. You can use the familiar vehicle to earn Silver or finish an objective, then return to the new chassis with better compatible equipment. Unlocking an option does not force you to abandon a working plan.
If your next target is Tankenburg, the recorded arrow attempt shows Spiderburg being used for that progression. It does not prove that the spider is mandatory. The Tankenburg unlock route separates its Dark Forest four-boss requirement from the later Silver purchase.
Keep the names distinct when reading build advice: Spiderburg and Tankenburg are vehicles, while Tankbert is a captain. A Tankbert build on Spiderburg still uses the spider chassis. Check each selection individually so that an unfamiliar name does not lead to an unnecessary purchase.
Finish with a usable loadout and a clear test
Before starting, confirm that the required Top modules are owned, the selected equipment fits the vehicle, and you know which attack is your main boss tool. Check that the route you intend to practice leaves enough space for the chassis to turn and escape.
During the attempt, focus on one question: does the second Top option improve the function you bought it for? If it was meant to cover retreat, watch what happens during cooldowns. If it was meant to strengthen boss damage, compare how reliably both attacks connect.
Return from the run with a specific adjustment rather than a verdict based only on whether you won. A missed activation, a bad turn, and an incompatible build each have different remedies. Resolving the purchase warning gets Spiderburg onto the field; learning the relationship between its two Top attacks and its movement makes that unlock useful.