
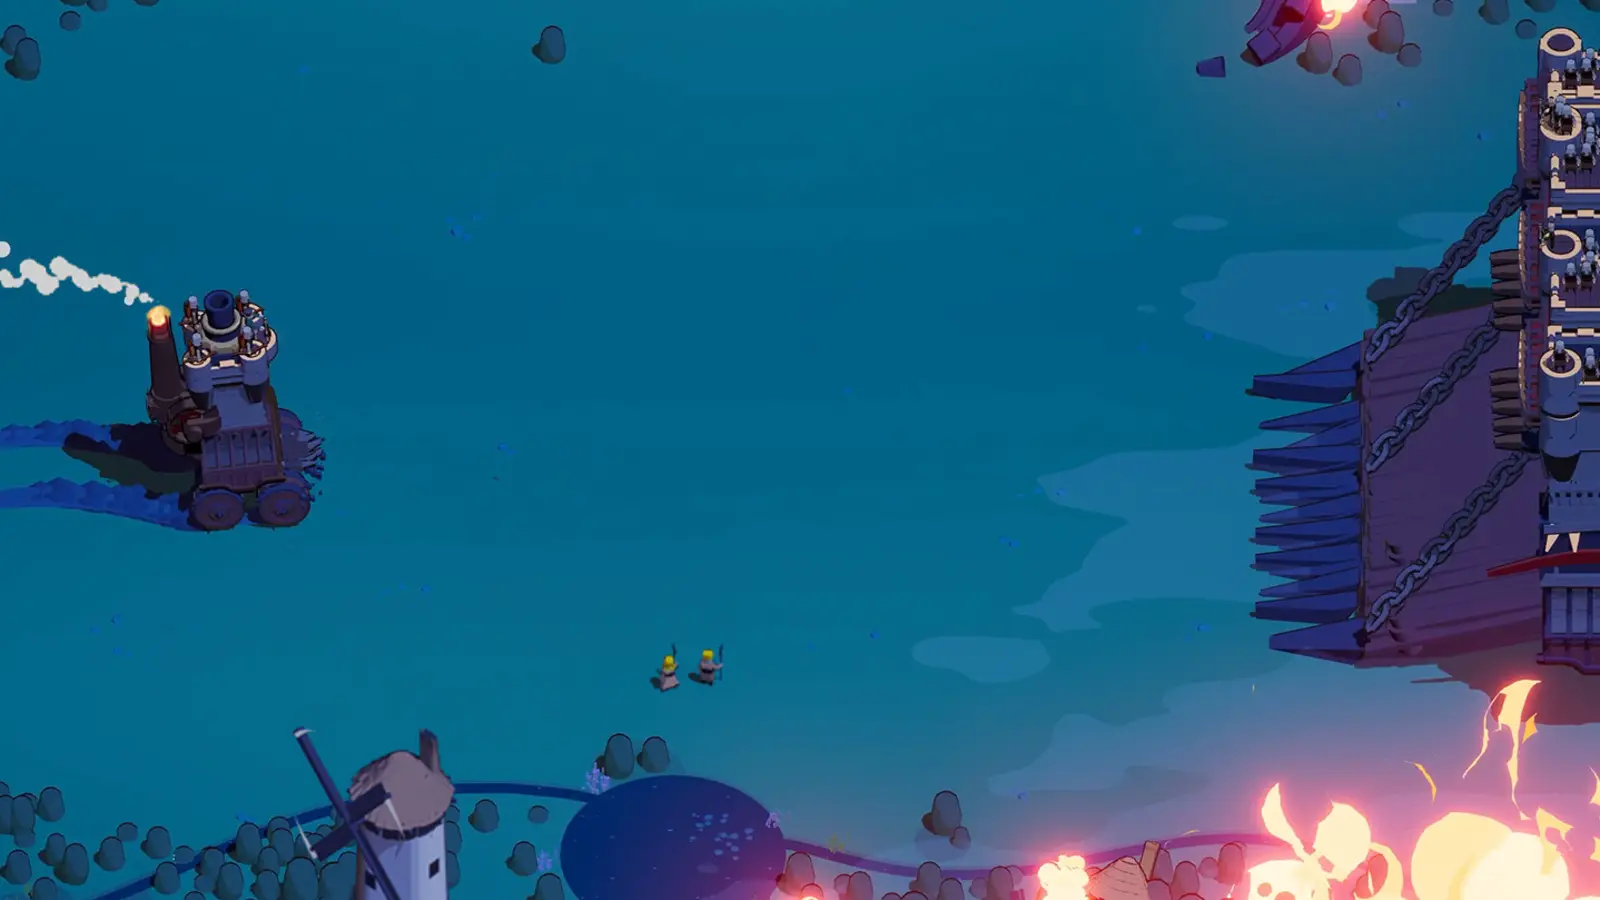
Give Tankbert time to grow
- Build focus
- Control, movement and longer runs
- Evidence
- Community reports; partial verification
- Reviewed
Start with control before chasing health
A practical Tankbert build uses Lightning Mage to control approaching enemies and movement modules to keep the castle out of danger. His reported health growth from vehicle kills becomes useful only if the opening survives. Choose him when you want to develop a longer run, and judge the first stages by damage taken and escape availability rather than by a health total copied from another player.
Tankbert is the captain, while Tankenburg is a separate vehicle. You can use Tankbert on Spiderburg; the names do not require pairing them. The most detailed community example here uses Spiderburg on Grasslands 3. Its starting choices and later module order are recorded in a written player report, but the linked footage has not been independently verified for this guide. Treat the route as a practical example, not a tested survival guarantee.
Follow the reported Grasslands loadout
The player started with Spiderburg, Tankbert, Merchants, Lightning Mage and Souvenir. They then added Teleporter, Cannon Tower and Dash, in that order. This gives each part of the build a clear job: Lightning Mage supplies damage and control, Teleporter adds repositioning, Cannon Tower provides another attack, and Dash adds another movement option.
| Decision | Reported choice | Practical consequence |
|---|---|---|
| Chassis | Spiderburg | Plan around its two Top positions and lack of Side modules |
| Captain | Tankbert | Protect the opening while vehicle kills accumulate |
| Crew | Merchants | The player selected rare and epic crew upgrades |
| Starting module | Lightning Mage | Establish damage and control before the other modules arrive |
| Starting artifact | Souvenir | Part of this specific player's setup, not a prerequisite for every attempt |
| Later modules | Teleporter, Cannon Tower, Dash | Add movement, another damage source, then further mobility |
The report lists a run time of 40:49, 27,953 gold, 2,321 silver from Overtime and 774 HP at the end. The timer is reported as the run's time; it must not be read as 40 minutes spent exclusively in Overtime. Those are one player's results, not expected rewards for copying the loadout.
The Spiderburg slot and unlock guide explains the chassis decision. If the vehicle is unavailable, do not force the same equipment list onto a different arrangement of slots.
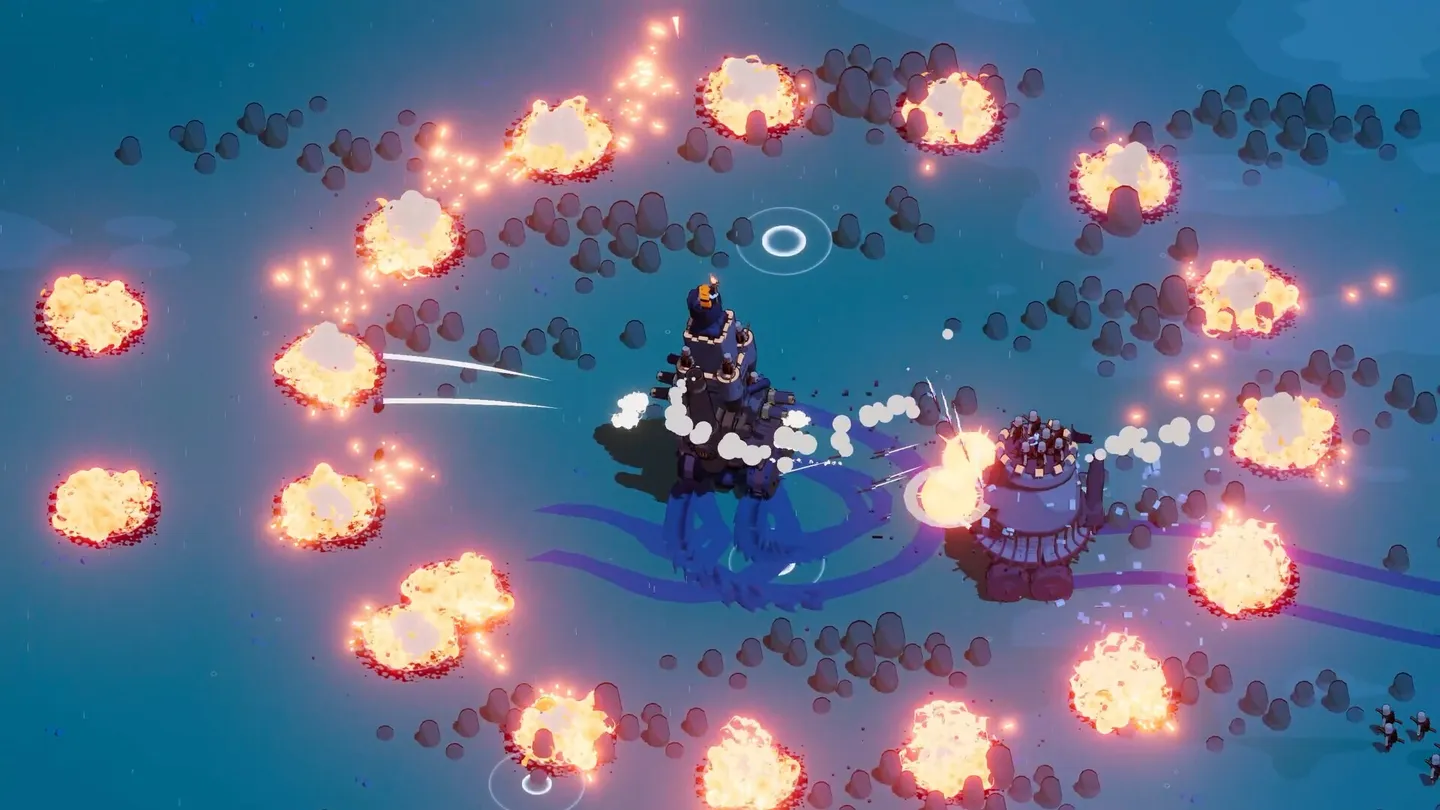
Protect the opening Nitro budget
Hotfix 0.9.10 reduced Tankbert's Nitro regeneration penalty from 50% slower to 30% slower. That is a versioned official change, and it explains why older advice may describe a harsher penalty. It does not eliminate the drawback. A build that constantly needs Nitro to correct its position can still feel uncomfortable before the movement modules arrive.
For the opening, choose lines that leave room to turn and avoid spending every boost on a low-value chase. When an enemy survives the first attack, let Lightning Mage continue working while you reposition. Driving directly back through a crowded lane to finish one vehicle creates a poor trade: the possible health benefit from a kill does not establish that the collision damage is worthwhile.
The feedback thread specifically describes Spiderburg's early stages as vulnerable, with Lightning Mage helping to carry the opening. Prioritize improvements that make the equipment already installed effective. Saving all your attention for the final four-module setup leaves the phase with the least protection underdeveloped.
Build the escape tools alongside damage
Teleporter comes before Cannon Tower in the detailed example. That order is useful if your first problem is getting trapped rather than killing too slowly. Once you have a way to relocate, the additional Top attack can strengthen fights without requiring you to remain beside every target. Dash then gives the build another movement tool instead of asking Nitro to solve every emergency.
Community advice emphasizes cooldown reduction on Teleporter and Dash, alongside Lightning Mage damage and cooldown upgrades. Read each offered card to see whether it affects automatic attacks or the active ability. An automatic damage increase and a shorter active cooldown are different improvements; choose according to what is failing in the current run.
Avoid spending both movement abilities just to approach a target when a dangerous wave is nearby. Reserve an exit, use the mage's control to create space, and attack from the new position. This is a positioning recommendation derived from the setup, not a claim that either movement button always grants protection from every incoming attack.
Choose Cannon Tower or Fire Mage deliberately
The detailed Grasslands report uses Cannon Tower as the second Top module. An earlier report and another player's recommendation instead pair Lightning Mage with Fire Mage. Both belong in the discussion, but they are separate variants. You do not need to acquire both extra Top modules to complete the reported build.
Cannon Tower was recommended for damage and, with the relevant artifact, knockback. The Grasslands player explicitly failed to find Lead Core and still reported the run above. That makes Lead Core a desirable improvement in that account, not a requirement for the setup to function. Do not keep the entire run on hold waiting for one artifact.
The Fire Mage variant emphasizes its active ability and cooldown, while Lightning Mage receives attention to automatic damage and cooldown. Follow that division only when those are the modules you actually equip. The Lightning Mage build guide goes into the positioning and upgrade decisions behind this control-focused pairing.
Balance defense choices against actual mobility
The Grasslands player took all three defense choices and a health artifact. They also doubled speed-related artifacts and Souvenir. Copying only the defense choices would leave out an important part of the account: the player also obtained movement support elsewhere. A slower version with different artifacts is not the same practical build.
The broader discussion disagrees about how heavily to invest in defense. One player favors health for surviving late mistakes, while another argues that speed, control and faster kills usually prevent more damage. Use that disagreement to check your own weakness. If attacks repeatedly catch you during turns, a larger health bar alone does not fix the route you are driving.
When movement feels adequate but a single mistake consumes most of your health, defensive choices become easier to justify. When you cannot disengage without exhausting Nitro and both movement skills, review movement upgrades first. There is no universally verified defense-to-speed split established by these reports.
Treat health targets and healing loops cautiously
Do not use 2,000 HP as a minimum benchmark for a successful Tankbert run. Players in the same discussion disagree sharply about reaching that figure, and their maps, stage delays, artifacts and times differ. The detailed 40:49 report ends at 774 HP. The disagreement does not establish a reliable health-per-kill formula or prove that one reported result is reproducible from the listed starting equipment alone.
Another proposed route starts with Wrench and attempts to amplify it, then develops luck-related artifacts. That discussion also contains confusion between Souvenir and Shovel, plus a question about healing after upgrade choices stop appearing. These are reasons to keep the proposal separate from the Grasslands result. Do not plan an attempt around an assumed automatic, unlimited healing loop.
For a first run, focus on observable milestones: a safe opening, two useful damage sources, functioning escapes and enough control to disengage. Record your actual health and survival result afterward. Those observations are more useful than trying to reverse-engineer an uncertain number from somebody else's late-game screenshot.
End stage farming when control breaks down
Some players delay boss kills to fight additional vehicles and grow Tankbert before Overtime. The same discussion warns that this depends on the map, the boss and the build's strength. It is an optional risk, not a mandatory opening procedure. If the boss is forcing constant evasive movement, delaying it may make the run less stable instead of better prepared.
Finish the stage when you can no longer manage the surrounding enemies with room to escape. In Overtime, preserve the same priorities: prevent contact, keep control abilities useful, and avoid spending every movement tool together. Use the Overtime survival guide to distinguish a damage shortage from enemies simply closing the distance too quickly. Tankbert's health can provide a buffer; the build still needs a route out.