

Make the broadside connect
Use the side-facing burst deliberately, then judge upgrades by the attack that is doing the work.
Reviewed:
Side Cannons reward positioning. The automatic fire and the active broadside are not the same action, and a large damage upgrade cannot compensate for an active burst aimed away from the target.
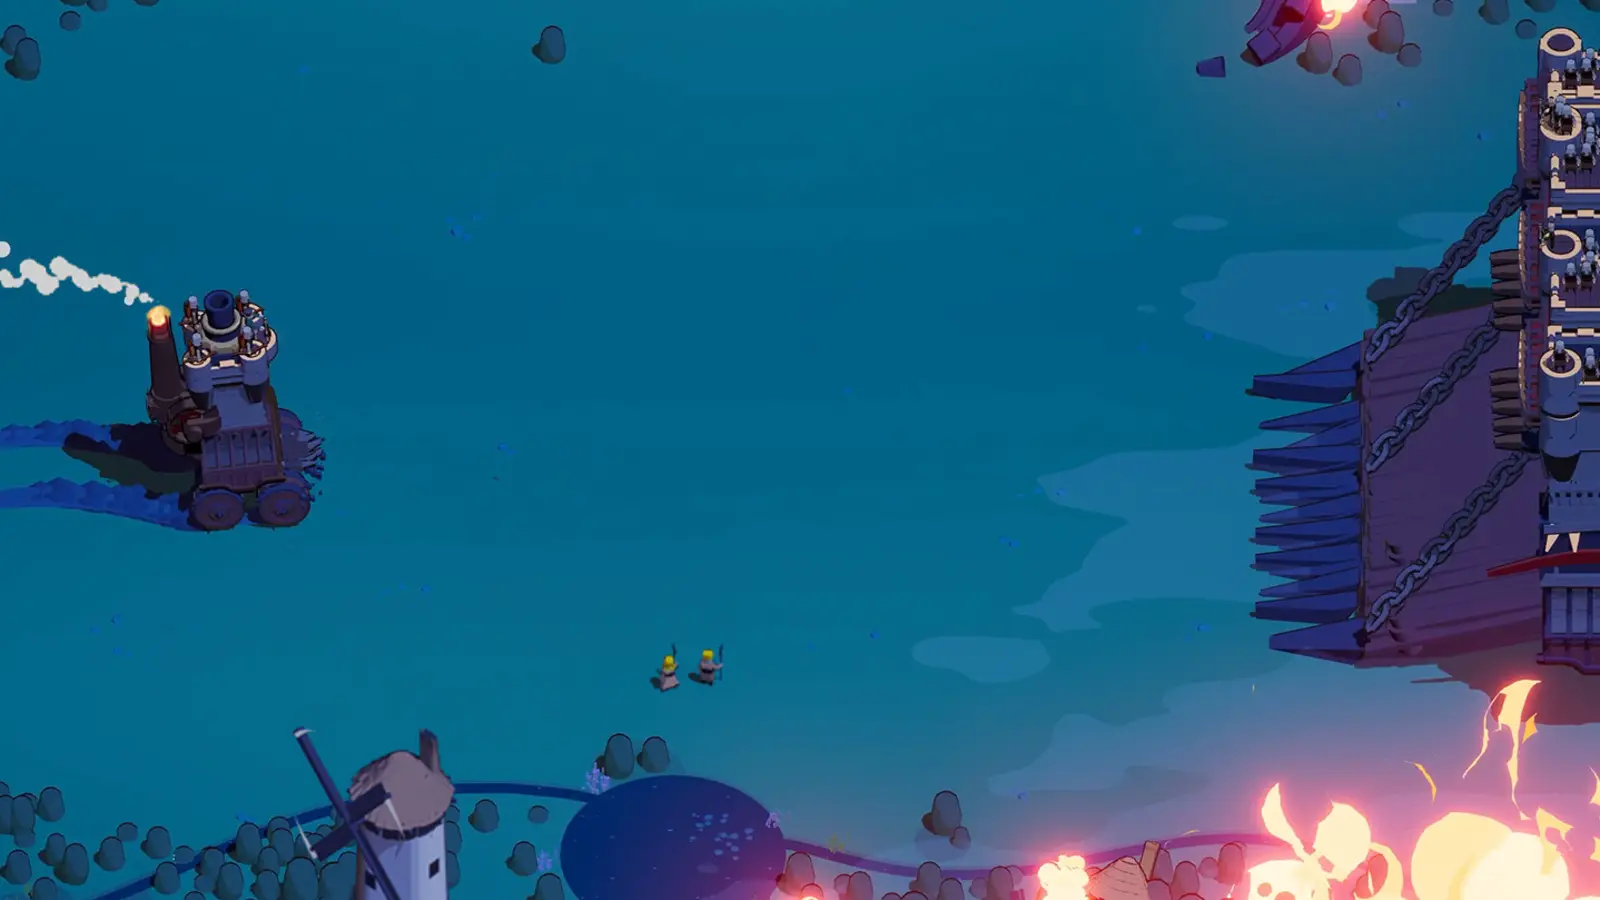
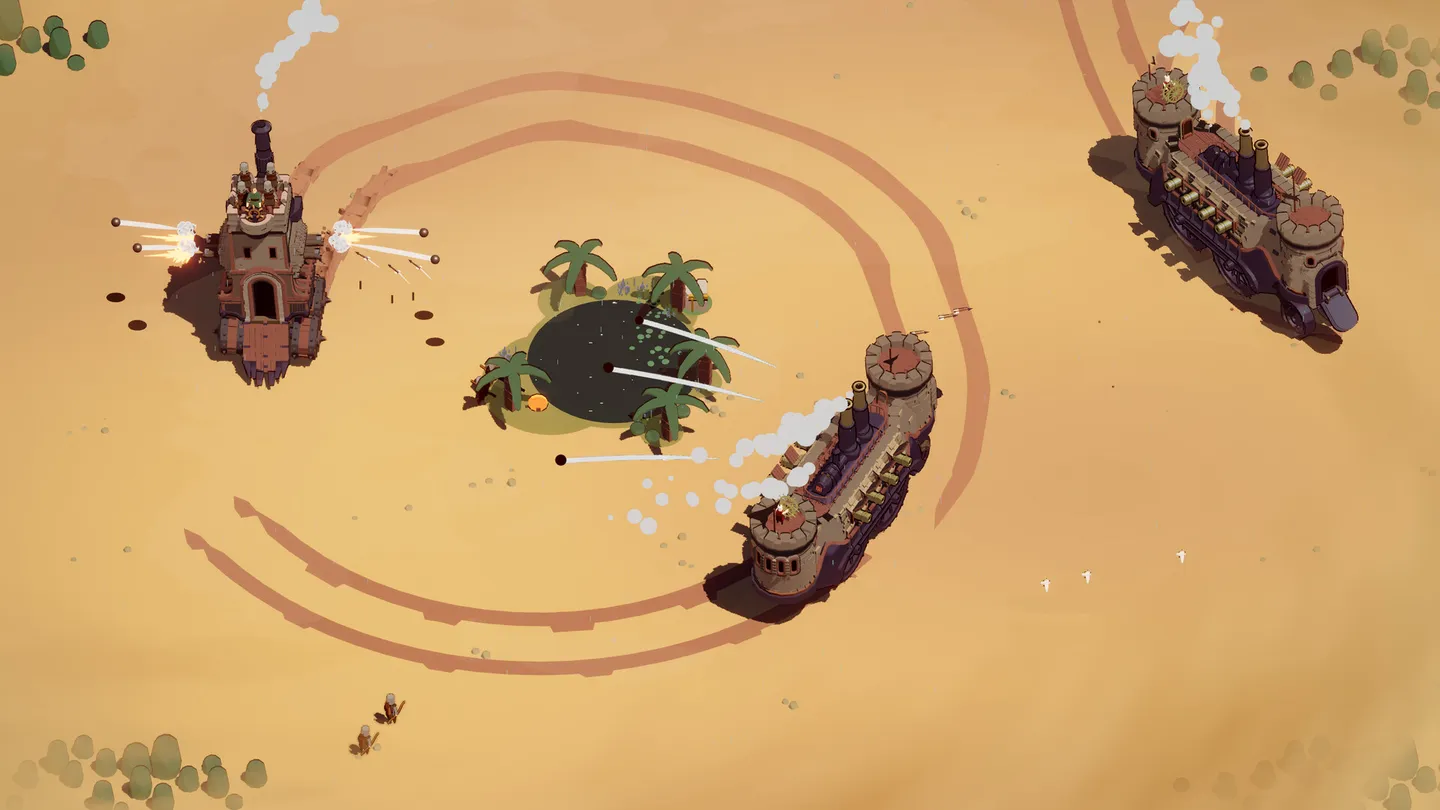
The gallery shows cannons mounted along the sides of a mobile castle. Use the placement to understand the firing arrangement; it is not a damage test or an unlock-screen record.
Fire the Side Cannons broadside from a useful angle
Approach with enough space to turn, bring the target alongside you and activate the broadside when that line is clear. Then continue moving. Staying beside a dangerous vehicle to wait for the next cooldown can turn one successful hit into a bad trade.
A Front Cannon asks for a different approach because its main burst points ahead. When both are equipped, plan the pass so that each gets a useful angle rather than pressing every ability while facing the same direction.
Practice against a manageable target before doing this in a crowded boss fight. Watch whether the burst connects. That observation is more useful than judging the weapon solely by the health bar after an unclear exchange.
Pick automatic or active upgrades intentionally
The recorded cannon run takes both automatic damage improvements and active-ability changes. It also encounters a special choice between an extra active volley and a different automatic shot behavior. Those support different habits.
If your active broadside lands reliably, improving it can strengthen your burst. If most of your attention goes into steering, automatic damage can keep contributing while you reposition. Cooldown is useful when you can already land the shot but need another use sooner.
The module upgrade guide has a symptom-based comparison rather than a fixed rarity ranking.
Check the Front Cannon unlock condition
One Early Access run reads the condition to reach Side Cannons upgrade level 10 to unlock Front Cannon. This is an in-run module level, not the castle's overall size. Completing the condition can make Front Cannon purchasable; check the loadout afterward.
Do not spend a second run repeating that condition if the padlock is gone and the remaining issue is Silver. Conversely, owning enough Silver does not automatically satisfy a condition that is still locked. Current client text takes priority if the requirement has changed.
Keep the damage family coherent
Separate the unlock reward from an in-run special choice
Reaching a module milestone can matter in two different places: the current run's upgrade selection and the account's unlock list. Later Side Cannons gameplay reaches a level-10 selection and chooses additional explosions. That choice changes the attack in that run; it is not the same screen or decision as purchasing Front Cannon afterward.
Read the special choice before accepting it, even when your main aim is finishing the unlock challenge. Compare the behavior it changes with the attack you are actually using. Then inspect the account reward separately after the run. This avoids treating an in-run special upgrade as a new permanent module, or assuming the Front Cannon purchase automatically grants Side Cannons the effects of a different weapon.
Adding another useful cannon attack lets cannon-damage bonuses support more of your equipment. It does not require abandoning all other tools. A movement option can be more valuable than another damage source when the castle cannot escape.
If you want a captain-focused cannon route, see the Patchy the Pirate cannon build. Its incoming-damage trade-off makes projectile avoidance especially important.
Read cannon bonuses by family, slot and trigger
Three different descriptions can appear relevant to a cannon run without affecting the same equipment. A cannon-damage bonus describes a damage family. A Side-module bonus describes a mounting position. An automatic-attack or active-ability upgrade describes which part of a module changes. Read all of those conditions before comparing the size of the displayed increase.
For example, the mixed cannon run encounters Front-module and Top-module bonuses while carrying several weapons. The Front option supports the cannon mounted at the front; it should not be read as a bonus for every cannon on the vehicle. The Top option has a different target again. If your Side Cannons are doing most of the work, a large number beside the wrong slot is not automatically the better upgrade.
| Wording on the choice | Check before selecting |
|---|---|
| Cannon damage | Which equipped attacks actually use the cannon family |
| Damage for Side modules | Whether the Side slot contains the weapon you intend to strengthen |
| Cooldown for Front or Back modules | Whether the ability you are waiting for is mounted in that position |
| Automatic attack improvement | Whether your problem occurs between active broadside uses |
| Active ability improvement | Whether the broadside is connecting often enough to use the benefit |
This matters most when several weapons make the screen difficult to read. A mortar impact, a forward cannon shot and a broadside may happen close together. Do not assign the whole result to Side Cannons, then choose its next upgrade based on that assumption. Watch a cleaner exchange and identify the specific attack before spending another choice.
Also separate an artifact's trigger from the cannon's ordinary behavior. An effect that happens after a qualifying kill is conditional; it is not necessarily active against a boss before anything dies. An effect that mentions the last or next artifact depends on that selection order. Neither wording means every cannon attack receives the same benefit continuously. When the condition is unclear, prefer an improvement whose target and use you can explain in one sentence.
Diagnose weak cannon results
- Missed broadside: change the angle before spending more upgrades.
- Strong burst followed by helpless waiting: inspect cooldown or automatic coverage.
- Good damage but repeated collisions: widen the turn and reserve movement.
- Module unavailable at loadout: check ownership and the Side slot, not combat performance.
A chassis without Side slots cannot equip Side Cannons. Check the best loadout guide before trying to reproduce a cannon setup on Spiderburg.
Side Cannons level 10 and Front Cannon
The observed challenge unlocks a different module. Finishing it and buying the reward are separate steps.
Start with the actual Side Cannons module
Use a chassis with a Side slot and confirm that Side Cannons is owned and equipped. Cannon Crew is not the module, and Front Cannon is not an alternative name for it. If the equipment screen rejects the choice, inspect the slot and purchase state before starting another challenge attempt.
Partially verifiedDevelop Side Cannons to upgrade level 10
The recorded Early Access challenge specifies the Side Cannons module's upgrade level. The castle's overall growth and another cannon reaching level 10 are not the same condition. Keep selecting relevant Side Cannons upgrades while maintaining enough movement and survival to continue collecting resources. This is a progression objective, not a reason to ignore every defensive choice.
Partially verifiedCheck the unlocked Front Cannon purchase
After meeting the challenge, return to the loadout and read the Front Cannon entry. If the lock is gone but the purchase is unavailable, inspect the Silver requirement. Do not assume that challenge completion equips the weapon for free, and do not repeat the level condition without checking whether the remaining barrier is simply the purchase.
Partially verifiedLearn the new forward-facing attack separately
Once purchased and available, Front Cannon introduces a different firing direction. The broadside habit of keeping a target alongside does not automatically line up a forward shot. Give the new weapon a manageable practice run before judging it against a familiar Side Cannons setup or combining both in a difficult encounter.
Partially verified
Evidence limit
The level-10 requirement is observed in Early Access gameplay. Read the current in-game requirement if your client differs; this page does not supply an unverified purchase price or promise a particular number of runs.
Attacks, upgrades and build links
Compare automatic and active use without importing Front Cannon's effects into the wrong weapon.
| Attack | Control | Frames | Positioning | Practical use |
|---|---|---|---|---|
| Automatic cannon fire | Unverified | Unverified | Unverified | This is the pressure that continues without activating the broadside. Choose upgrades explicitly marked for the automatic attack when that is the part of the weapon clearing enemies during movement. Do not copy the active attack's firing pattern or cooldown onto automatic fire; exact current coverage and frame measurements are not established here.Partially verified |
| Active broadside | Use the binding shown for Side Cannons in your current control layout. | Unverified | Bring the intended target alongside the castle. | Line up the side-facing opportunity before activating. A successful burst should be followed by continued steering toward open space, not by sitting next to a dangerous vehicle while the cooldown returns. If the burst misses, fix the angle and timing before assuming a damage upgrade is needed.Partially verified |
No frame count, universal button label or exact current cooldown is asserted. Keyboard and controller layouts can differ, and an upgraded run is not a measurement of the base weapon.
A complete, current, named Side Cannons upgrade tree is not established. Use the actual choice text to distinguish automatic damage, active damage, cooldown and special behavior. The recorded Front Cannon options that ignite targets or call a mortar rain belong to Front Cannon; they are not Side Cannons branches.
No verified Side Cannons-specific patch chronology is included. Changes to Side Arm or Side Ballista concern different modules and must not be relabeled as Side Cannons balance changes.
Wanderburg Patchy the Pirate Cannon Build
Use the captain-focused cannon recommendation when you can manage its incoming-damage trade-off; it is not a substitute for learning the broadside angle.
Partially verifiedWanderburg Best Build
Compare a cannon damage plan with arrows and summons before deciding which family best fits your available equipment and preferred control style.
Partially verifiedWanderburg Best Loadout
Check the starting chassis, purchased modules, crew and artifact before trying to reproduce a finished cannon setup.
Cannon positioning under pressure
These are practical responses to situations, not measured matchup ratings or guaranteed counters.
| Situation | Problem | Response |
|---|---|---|
| A target that leaves room for a broadside pass | A clear side-facing firing opportunity.Partially verified | Choose the pass before you reach the target. Keep enough room beyond it to turn away, activate when the target is alongside, and continue moving. Do not turn a safe firing window into a stationary damage trade merely because the first burst worked. |
| A pursuer is closing the escape route | The firing angle competes with movement safety.Partially verified | Preserve open ground before setting up another burst. If turning broadside would place the castle in the pursuer's path, delay the active shot and use whatever safer pressure is already available. This is a movement decision, not proof that Side Cannons needs another damage level. |
| Several threats overlap around the castle | A visually busy exchange can hide missed attacks.Partially verified | Judge whether the intended important target was hit, not how many explosions appeared. Separate that observation from incoming damage. If the burst connects but you lose most of your health setting it up, change the approach or invest in a survivability problem before repeating the maneuver. |
| Overtime pressure leaves little time to turn | A boss-clearing firing pattern may become unsafe.Partially verified | Reassess whether you can maintain the same pass while preserving an exit. Automatic coverage and movement may become more valuable than another conditional burst improvement. A successful main sequence does not guarantee that the castle can stay beside late threats for another cooldown. |
Pair the cannon with a clear job
Keep damage-family support, firing coverage and movement needs distinct.
Shares a cannon-oriented damage plan but asks for a forward line. Alternate useful firing opportunities instead of assuming one heading lines up both weapons. Unlock and purchase it separately; the Side Cannons challenge does not mean it is already in the current run.
Partially verifiedResolve cannon setup problems
Check the cause before spending more upgrades or repeating a challenge.
Side Cannons is missing from the loadout.
First check the chassis. Spiderburg has no Side slot, so a Side Cannons recipe cannot be copied onto it unchanged. Then check whether the module is owned rather than merely unlocked. A missing compatible slot and a missing purchase are different problems, and neither is solved by taking more damage upgrades in another run.
Partially verified