
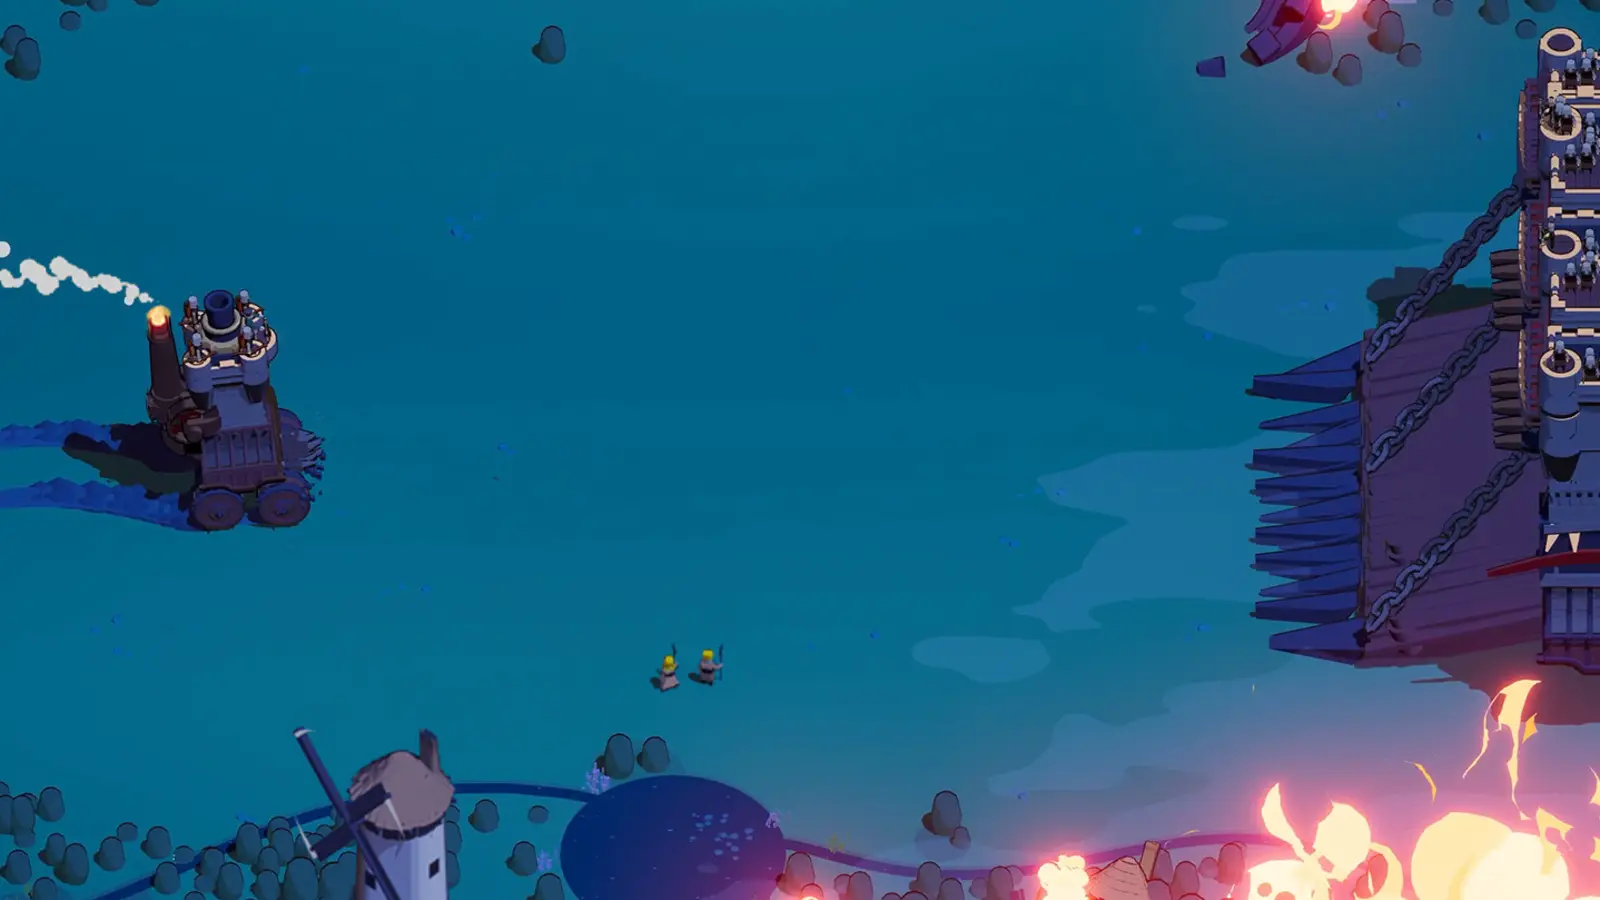
Win the early damage check without a contact trade
- Reviewed
- Scope
- Early Access; see version notes
Taurus Drillus is an early test of whether your current damage plan can work while the castle stays mobile. Do not turn a brief successful clip into a claim that every variant has the same health, timing or resistances.
The Meadows footage names Taurus Drillus after a Fire Mage kill. A Waving Fields turret encounter uses a similar but uncertain transcription of the name, so its positioning lesson is useful without treating it as a fully identified second Taurus test. Neither clip supplies a complete attack sequence.
Prepare before Taurus Drillus arrives
Collect accessible resources and improve the attack that is already useful. Avoid spending the opening beside a large target that takes too long to destroy. You need enough damage for the boss, but also enough health and space to use it.
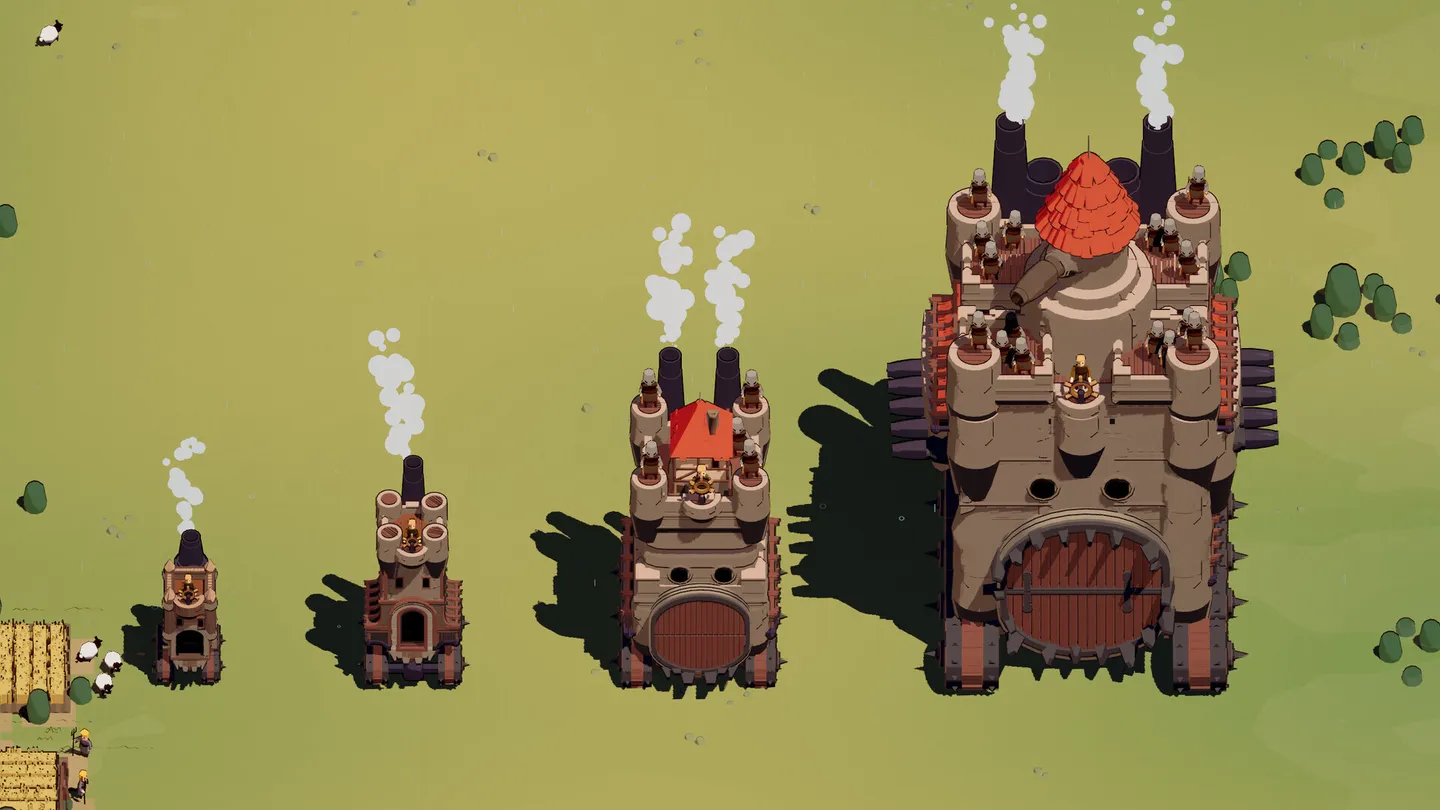
The castle-size comparison above illustrates a practical concern: the vehicle occupies more space as it develops. A route that was easy earlier can become a poor turning area later.
Do not enter the fight with every ability unavailable because you just spent the full burst on an optional target.
Use turret coverage without standing still
In the related arrow encounter, the player deploys turrets and lets the boss move into their attacks. You can use that approach when Taurus follows a suitable path, keeping damage active while steering rather than trying to win by contact.
Place the deployment where the approaching target will remain in coverage. Move with enough room to avoid being pinned. If a crowded area becomes unsafe, leave it and set up another pass instead of protecting the old deployment at all costs.
The turrets and arrows build explains range, cooldown and the mobile attacks that support the turret.
Separate the Meadows adjustment from other variants
Hotfix 0.9.9 slightly weakened Taurus Drillus in Grassland 2 and made Meadows easier. That statement is specific; it does not establish an identical change to every stage containing the boss.
If you are stuck in that area, update first, then use the Meadows difficulty 2 guide. Do not diagnose the current fight solely from a launch-day difficulty report.
Read the first useful attack before changing the build
Treat the first attack that clearly reaches Taurus as information. Watch the boss's health while that attack is active, then compare the result with the health your castle loses. A fight can fail because damage is weak, because the damage misses, or because every successful attack requires an unsustainable approach. Those failures should produce different next decisions.
If an active burst barely affects the boss, confirm that it landed before choosing another damage card. Front-facing attacks need the target in their path, and deployed attacks need it in their coverage. A stronger missed attack still leaves the boss alive and the ability unavailable. Adjusting the angle is the immediate correction when the target was outside the attack area.
If the boss loses substantial health but the castle is hit repeatedly, preserve the damage plan and change the pass. Leave the close area after the useful attack, use automatic coverage during the retreat, and return when the important ability is ready. This is a general combat recommendation for the observed situation; the available Taurus material does not establish a fixed interval during which contact is safe.
The module upgrade guide helps match the next card to the failure you just observed.
Do not copy the Meadows fire result as a resistance rule
In the identified Meadows segment, the player has already invested in Fire Mage damage, automatic projectiles and cooldown. Taurus dies during that developed run. The success therefore belongs to the equipped setup and the choices leading into the fight, not to a demonstrated special weakness that any unupgraded fire attack can exploit.
Immediately before the kill, the player is taking cannon hits and reporting insufficient speed. Immediately afterward, the player selects movement and continues improving equipment. The practical implication is that defeating Taurus did not solve the whole run. If your clear leaves very little health, use the following interval to recover and improve the weakness that the fight exposed.
Do not assume the ring of fire is compulsory because the player prefers it. The footage does not compare its result against every alternative on the same version and difficulty. Use an attack you own, understand and can keep on target. A familiar cannon or arrow plan should be judged by its actual performance in the encounter, not rejected merely because this short identified clip uses Fire Mage.
Keep the fight separate from nearby vehicles
When several large enemies are present, identify the boss bar and the target connected with it before committing your strongest attack. An ordinary vehicle with a drill-like appearance is not enough to establish that it is Taurus Drillus. Likewise, the word "tower" in commentary does not identify a different boss by itself.
The related Waving Fields clip is brief and its transcription is uncertain. It supports the idea of inviting a pursuing target into turrets, but it cannot provide Taurus's full move list, guaranteed phase order or resistances. Use the visible encounter in your game to choose the next route, and avoid waiting for an invented tell that the available material never establishes.
After the kill, collect useful rewards when the path allows it and resume preparing for the remaining stage. Hotfix 0.9.9 made boss tombstones collectible for Silver. That gives a reason to return to the defeated boss's position, but nearby threats can still make the immediate turn unsafe. Complete the next safe pass instead of reversing through a crowded group for the pickup.
Use the named launch encounter as a movement example
The launch-day commentary names Taurus Drillus and then describes the enemy following the player's castle. This adds an identifiable pursuit example to the shorter Meadows material, but it is not a frame-by-frame attack analysis. The useful recommendation is to maintain a route where a following target remains exposed to your attacks without forcing a collision.
With a front attack, create enough room to turn and line up the next shot. With deployed damage, guide the pursuit through useful coverage instead of stopping to defend an old deployment. If you cannot make either route safely, concentrate on leaving the crowded area before committing another burst.
Do not extend that example into a claim that the boss always follows the same path or becomes harmless at a certain distance. Likewise, it does not prove a contact immunity for a Ram Duelist build. Close-range builds need their own approach and exit plan, even when another setup made the pursuit look manageable.