
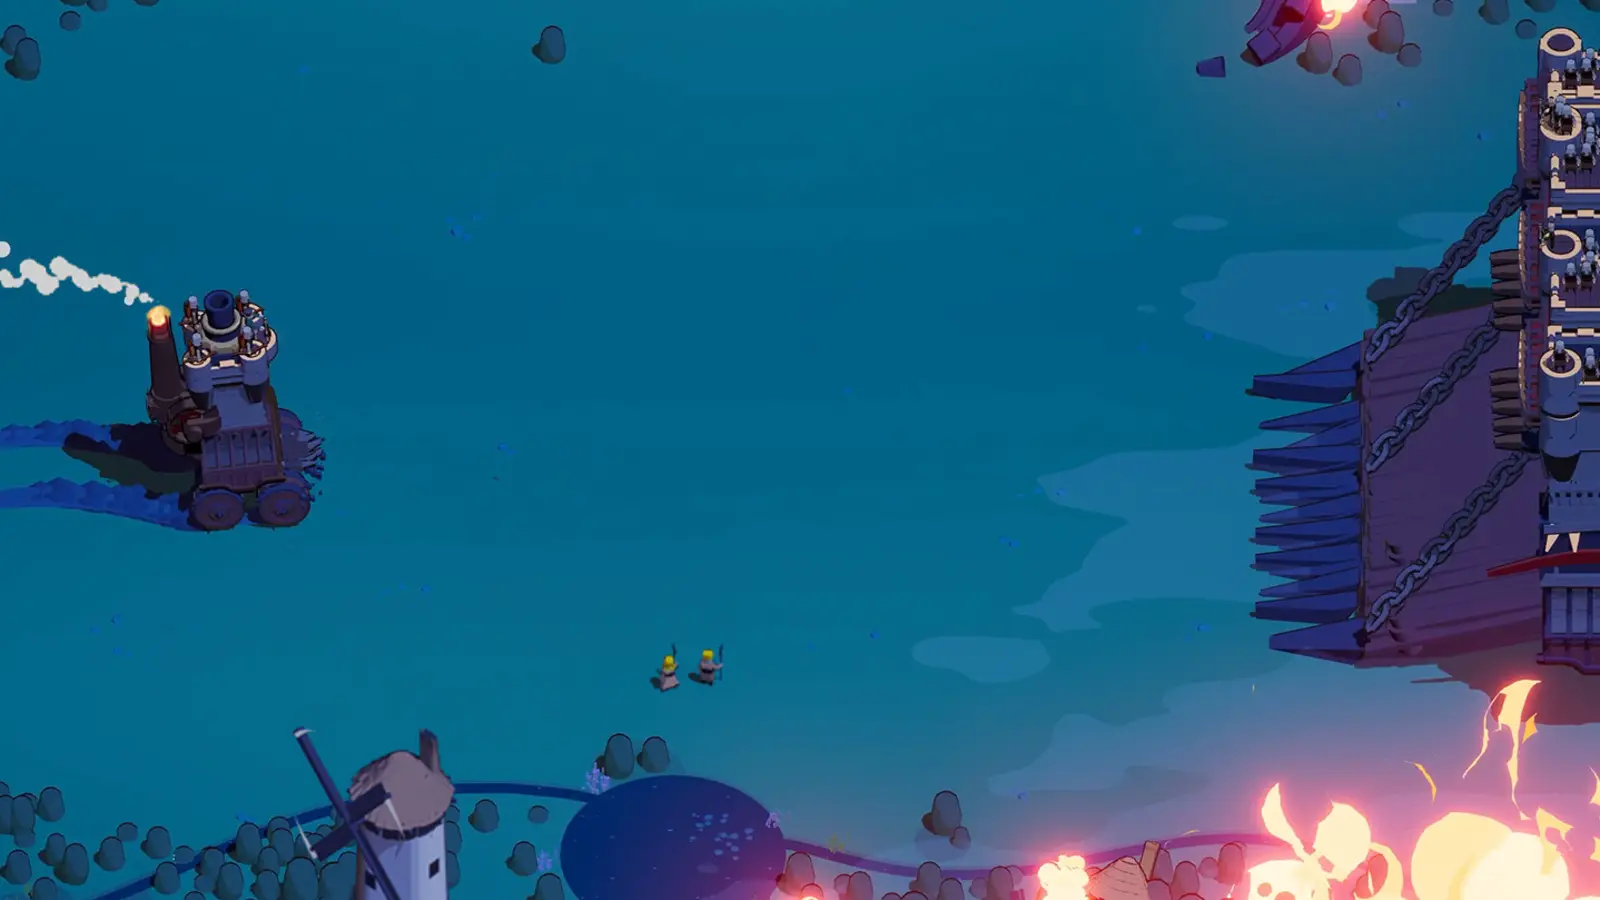
Build a run that stays healthy through the sequence
- Reviewed
- Scope
- Early Access; see version notes
A Meadows run can start with good damage and still fail because the castle becomes hard to move or cannot recover health. Treat the stage as a sequence of fights with preparation between them, not a single damage check.
First make sure the game includes the 0.9.9 balance changes. Reports from before the Meadows adjustment do not describe exactly the same difficulty.
Prepare a familiar damage plan
The recorded Meadows attempt uses Fire Mage with supporting equipment. It takes Fire Mage cooldown and attack upgrades, then combines those with movement and recovery decisions. This is one demonstrated route, not proof that fire is mandatory.
A familiar arrow or cannon setup may be a better choice if that is what your account can equip and upgrade effectively. Use the best build comparison to choose the plan before entering.
Do not buy a specialist captain solely because a different stage's video used one successfully. Keep the next attempt reproducible with the items you own.
Use the first boss to identify the weakness
If Taurus Drillus takes too long to kill, inspect the attack you are relying on. Confirm that it connects and that the chosen upgrades improve it.
If the boss dies but leaves you nearly dead, the next priority may be movement or recovery rather than another damage increase. The Taurus Drillus guide separates those failure cases without borrowing unsupported statistics from other variants.
Reassess movement after growing
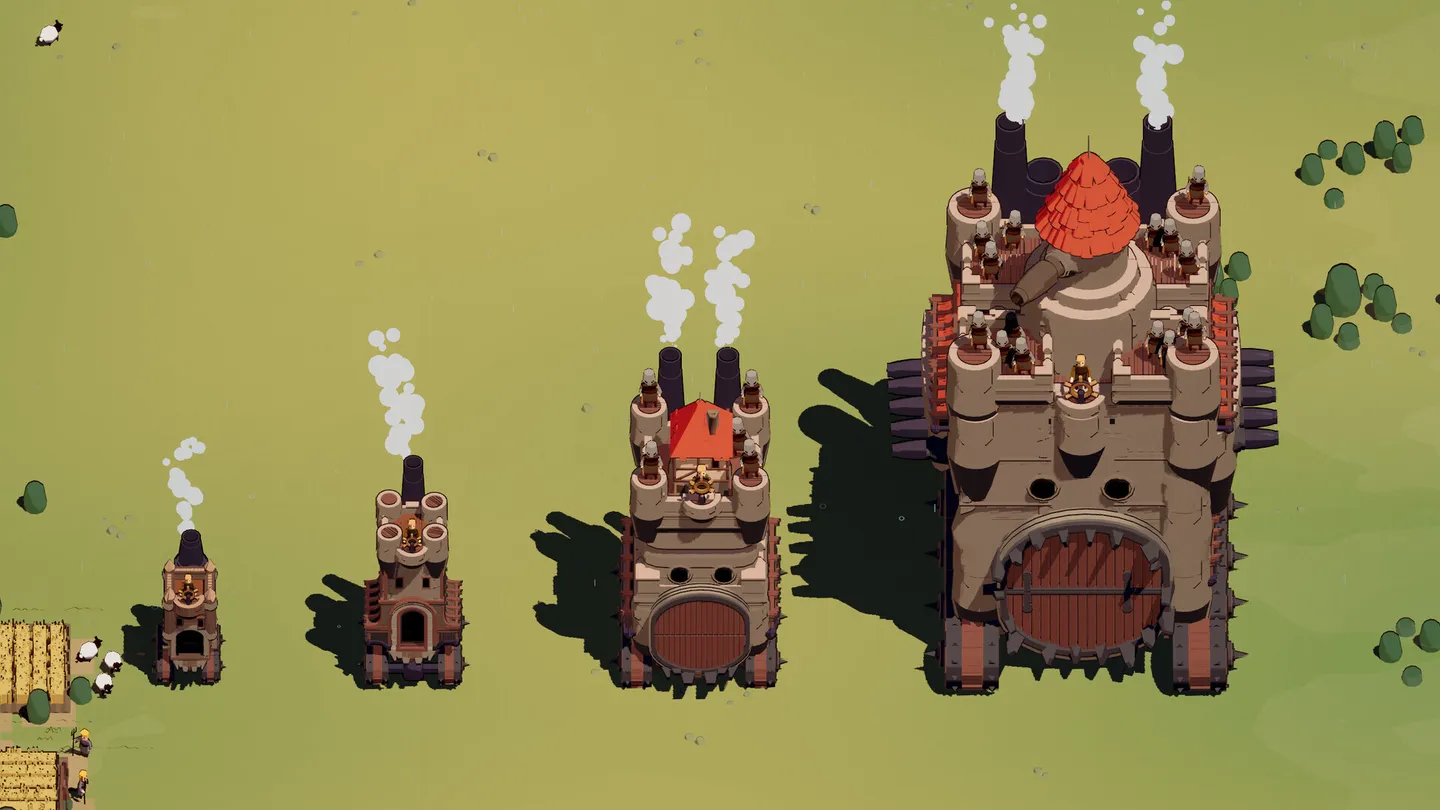
The castle-growth image shows why the driving problem changes as the run develops. Larger equipment and a larger vehicle need more space around obstacles and enemies.
The recorded Meadows player repeatedly seeks speed after taking heavy hits. Another beginner guide prefers Defense with movement support from artifacts. These are different successful preferences, not a conflict that must be resolved into one universal rule.
Choose based on the failure you can see: health lost despite a clear route favors protection; inability to leave a crowd makes mobility more urgent.
Plan recovery before the emergency
Mark a safe way toward healing when you notice it. Do not wait until health is almost gone and then drive blindly through the busiest part of the map.
In the recorded run, a consume-units healing effect becomes attractive because there are targets available to consume. That does not make every visible enemy a safe recovery target. Keep damage, space and the current effect text in mind.
A healing choice can also take time to pay off. Immediate health and ongoing recovery are different answers; choose for the situation rather than treating them as interchangeable.
Enter Dark Tower without a needless detour
The late boss demands enough room to avoid fire and keep attacks useful. Refill what you can before the fight and preserve an escape during cooldowns.
Do not let an optional chest or artifact turn a nearly completed sequence into another failed run. The Dark Tower guide covers the final-fight priorities.
After the clear, decide separately whether the build is healthy enough for Overtime. Finishing Meadows is already a useful result; continuing is not evidence that the previous run was incomplete.
Turn the Fire Mage example into an opening plan
The recorded Meadows run begins by improving Fire Mage's automatic damage and effect size, then gives substantial attention to active cooldown. Those choices establish two jobs: damage that continues during travel and a stronger attack used against worthwhile targets. The player does not wait for every slot to be filled before developing the starting attack.
If you use the same module, first observe where its current attack lands. The player has to remember the attack's position and sometimes misses. A larger number on the upgrade screen does not help an ability fired on the wrong side of an enemy. Try a safe pass against a manageable target, identify the useful angle and use that same deliberate approach when pressure increases.
Collect accessible terrain resources while waiting for the next active attack. The beginner advice supporting this route warns against spending the weak opening beside a durable castle that cannot yet be destroyed quickly. This is particularly relevant in Meadows because the player repeatedly reports low speed. A long stationary opening costs both resource collection and room to evade incoming vehicles.
Once the starting attack is removing ordinary targets reliably, consider a larger enemy for its reward. Decide where you will go after the attack before committing. The recorded run gains valuable artifacts this way, but also suffers when a ram pushes the castle into another dangerous enemy. Early damage is useful only if the route leaves room for the next action.
Keep the Gold route connected to the fighting route
Fire damage can leave defeated enemies and their drops behind the castle's current movement. In the Meadows recording, the player repeatedly wants a magnet to collect scattered Gold and turn successful kills into upgrades. This is a collection problem as much as a damage problem: the attack has produced resources, but the castle still needs to benefit from them.
Make a return pass when it is safe instead of immediately chasing a new distant target. If a magnet is available, compare the route to it with the resources you can collect directly. Do not drive into a dense group solely because the pickup could produce several levels. One safe upgrade now can be more useful than several imagined upgrades beyond a route that kills the run.
The player takes a chance-based magnet effect and then expresses surprise that magnets have not appeared. Do not build a guaranteed opening around a random drop. Until the effect actually produces something, keep gathering resources normally. The useful lesson is to preserve a working collection route, not to assume the map owes you a pickup after a guessed number of kills.
If the build kills quickly but levels slowly, look behind the route you are driving. You may be leaving the result of your own damage uncollected. Conversely, if collection is frequent but every fight still drags on, inspect the upgrades you selected. More movement between rewards will not fix an attack that is underdeveloped or missing its target.
Choose a Fire Mage branch for the fight you can manage
The recorded player prefers the ring of fire during this Meadows attempt and repeatedly uses it against nearby targets. That is a demonstrated preference, not a requirement for the stage. It works in the example because the player can keep relevant enemies within the attack's useful area long enough for damage to matter.
Remaining close enough to deal damage carries its own risk. The same run takes heavy hits from ramming enemies and cannon fire. If a chosen branch asks you to spend time near danger, decide how you will leave after the attack. Do not interpret a strong damage result as permission to keep circling inside a group once the exit is closing.
Later, the player extends the active effect and questions whether the additional duration is necessary. That question is useful when evaluating a similar card. If the target already dies before the effect ends, duration may offer less immediate value than cooldown, automatic coverage or survival. If the effect expires while a durable enemy remains in range, a longer duration has a clearer job.
Avoid copying the player's uncertain damage-tag assumptions. The transcript contains questions about whether a Front-module artifact affects Fire Mage and whether a magic bonus applies to the attack being used. Read the current slot and damage-type information rather than inferring it from where a character appears on the castle. A bonus must affect your actual equipment to justify choosing it.
Treat the middle of Meadows as a recovery window
After Taurus Drillus is defeated, the example continues improving Fire Mage and adds supporting cannon attacks. It also reaches a point where damage is clearly strong but health is dangerously low. This is the stage's most useful warning: killing enemies quickly does not automatically repair the damage sustained while reaching them.
Use the period between bosses to rebuild health and prepare the next approach. Look for accessible healing when you still have enough margin to choose among routes. If you wait until almost any hit is fatal, the nearest pickup may be behind the exact enemy group you cannot cross. The recorded player repeatedly searches for health under that pressure.
A defense effect should change how many mistakes you can survive, not whether you pay attention to them. The player takes Pillow Armor and still suffers major damage. The footage even includes an untested theory about negating small arrow hits. Do not turn that theory into a rule that arrows can be ignored. Watch the health bar and the actual projectile pressure in your run.
When an ongoing recovery choice appears, compare its condition with available targets. The Meadows player chooses healing from consuming units because nearby sheep offer opportunities to trigger it. This makes sense as a route-dependent choice. It does not mean that driving through any enemy group is healing, or that the effect restores a large missing health bar immediately.
Add cannon support without losing the main plan
The example uses Front Cannon and Side Cannons alongside Fire Mage. These supporting attacks can help remove a durable enemy or contribute while the main ability is unavailable. Their value depends on how they fit the castle's direction. A front shot and a broadside are not interchangeable, and the recording includes a missed main-cannon attack despite good overall damage.
Use a simple sequence when the angle allows it: line up the Front Cannon on approach, pass through a position where the side attack has a useful target, then leave toward open ground. This is a suggested driving pattern, not a fixed boss script. If the approach is crowded or incoming fire closes the line, abandon the pass and set up again.
The player sometimes accepts a useful cannon upgrade when the desired Fire Mage choice does not appear. That is a sensible fallback if the support attack is contributing. It becomes less useful when the upgrade strengthens an ability you repeatedly forget to fire or cannot align safely. The module upgrade decision guide explains how to separate rarity, automatic damage and active damage.
Keep the main build recognizable as the supporting modules improve. If Fire Mage is handling groups and a cannon is helping with single targets, those roles can coexist. Spending equally across every offered damage family simply because it is new can leave none of the attacks strong enough for the next boss. Use the role each module performs to decide when another upgrade is worthwhile.
Navigate Bombardia and the mine-filled late section
The Meadows recording identifies Bombardia in the later sequence and describes numerous bombs during that fight. The player attacks during passes, leaves an explosion area and returns to healing after the boss is close to defeat. This supports a cautious approach built around useful attacks and clear exits; it does not establish a precise current attack timer.
Look at the ground you are about to cross as well as the target you are attacking. The footage repeatedly becomes confusing around mines, including uncertainty about which ones belong to the player. Do not use that uncertainty to assume all similarly colored objects are safe. If you cannot identify a ground effect during a crowded moment, choose open ground when possible and keep enough space to turn.
Supporting Mine Layer upgrades appear in the example and later add fire-related behavior. That creates another way for the run to apply pressure while moving, but it also increases the amount of activity on screen. Judge whether your route remains readable after a large deployment. More effects are not automatically better if you stop noticing an incoming vehicle or an explosive area.
After a boss falls, avoid immediately turning across its former position for a reward while nearby hazards remain. Let the next safe pass collect the useful drops. Hotfix 0.9.9 made boss tombstones collectible for Silver, so there is a reason to return when practical. There is still no reason to sacrifice the remaining sequence for a reward you can reach more safely from another angle.
Prepare the final approach before Dark Tower
The recorded Meadows run reaches Dark Tower with a developed main attack and supporting modules, but the player is still seeking health and dealing with mines. The last fight is therefore a continuation of the same survival problem, not a separate arena where earlier mistakes disappear. Enter with a route that can carry you past the boss and away from incoming fire.
Do not switch from a successful combat plan to collecting every visible reward merely because the sequence is nearly finished. The player selects Silver near the end of the recorded fight, but also takes a costly risky pass. Whether a reward is sensible depends on the remaining health and danger. If the boss can be finished with another safe attack, that attack is usually the clearer objective.
Keep using the attack you know how to land. A late Front Cannon upgrade can be useful, but the recording shows that even an improved shot can miss. Position before firing rather than expecting the final upgrade to correct the angle. Your established Fire Mage pressure and supporting attacks should work together while the castle remains mobile.
Change the next attempt according to where it failed
| First recurring failure | Change to try next | Keep unchanged if it worked |
|---|---|---|
| Little progress before Taurus | Spend less time at durable optional targets; develop the starting attack | Familiar steering and a compatible loadout |
| Boss dies, castle nearly dies too | Reserve an exit and prioritize reachable recovery | The attack that actually finished the boss |
| Fast kills but weak growth | Return safely for Gold or use an accessible magnet | The successful damage direction |
| Late collisions and explosive damage | Use wider routes and watch ground hazards before turning | Effective active timing |
| Dark Tower remains healthy after a burst | Check alignment and target coverage before adding damage | A survival route that preserves health |
This approach keeps a Meadows retry specific. A loss to a ram does not prove Fire Mage is weak; an unfinished boss does not prove you need a new captain. Identify the earliest failure that changed the run, then address it with the equipment and route available to you.
The 0.9.9 notes name Meadows as Grassland Difficulty 2 and separately mention a slight reduction to Taurus Drillus there. They do not publish a full replacement timetable, every enemy's health or a guaranteed clear route. Use the updated stage as it is presented in your game, and use the recorded attempt for practical decisions about damage, collection, recovery and the final approach.